Here is the recording of our latest training webinar on all about D3M's icon libraries!
This month's webinar covered D3M's icon libraries, from organizing your library to adding icons.
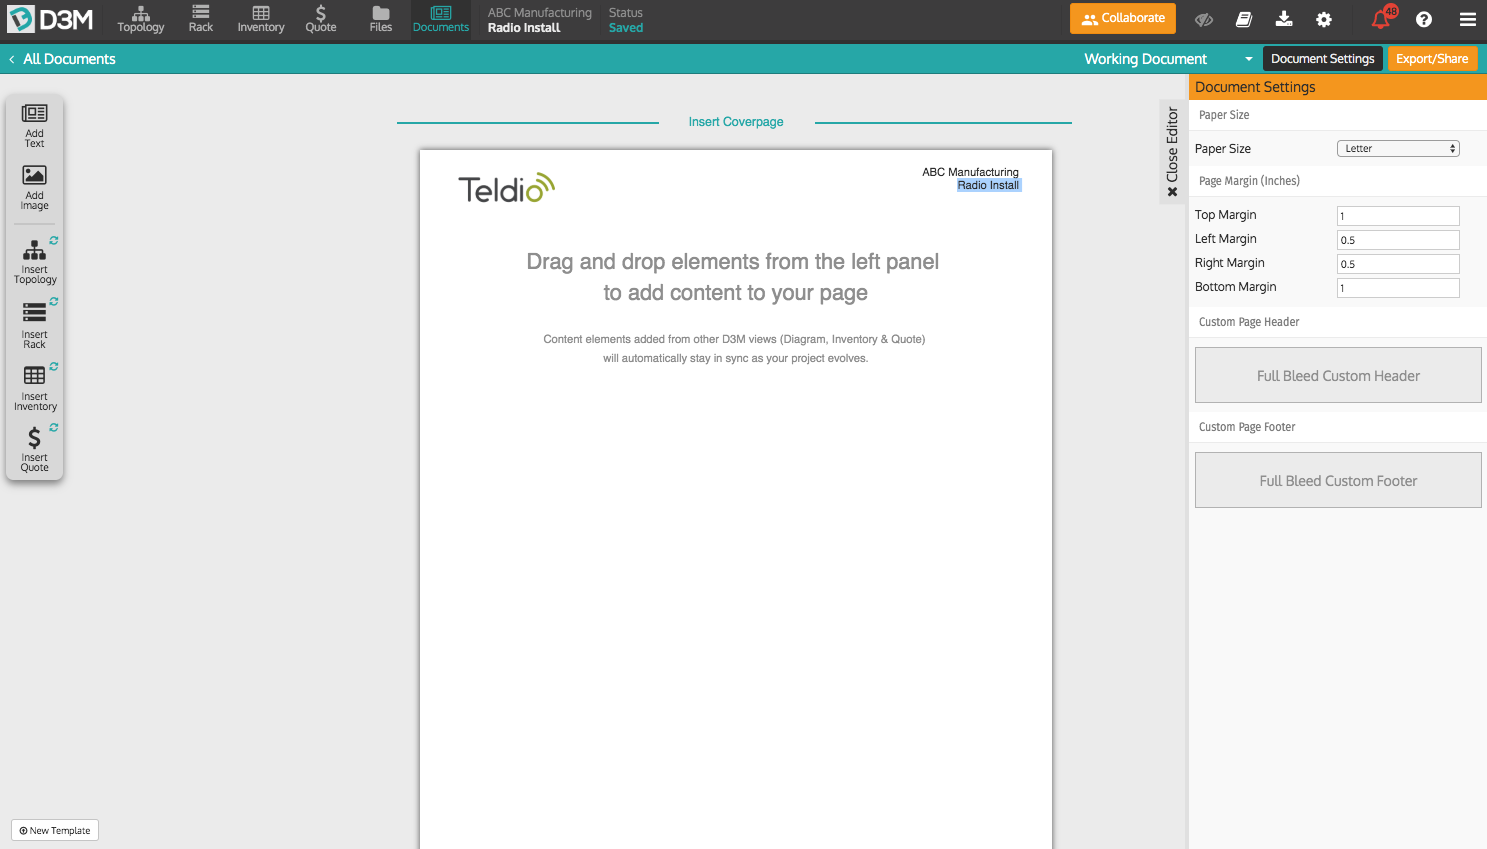
The webinar begins by creating a new project and jumping to the blank topology canvas. To the left of the canvas you can see the Icon Libraries. Everyone's Icon Libraries will appear differently, whether it be different manufacturers, sizing, etc. With D3M you are able to customize your Icon Library to fit your organization's needs.
Changing Viewable Icon Libraries
Changing available Icon Libraries for the entire organization (must be an Admin): Go to Admin Settings (under menu in top right corner), select the Library tab, select Library Management, and select the icon libraries you would like the users in your organization to have access to. These Icon Libraries will now be available in all your users' Icon Libraries.
Changing the icons you see in your Icon Library (does not affect other users' views): Select the icon in the top right corner of the Icon Library area (beside Organization Library), select the Manufacturers, Categories, Icon Sizing and Order you wish to see, and click the con in the top right corner again to save changes. You can change this at any time based on your needs and preferences.
Adding Your Own Icons to Your Icon Library
We then jump into how you can add your own icons. We try to offer our users a variety of icons and manufacturers but we know that there will be times that D3M does not have the icon you need. With D3M you can easily add your own icons, here's how:
Add icon by uploading your own image: Select New Icon at the bottom of the Icon Library area, select Upload Custom Image and choose the image you wish to upload from your computer, add an Icon Name, select Next Step, add needed Ports, select Next Step, add needed Properties, and select Save to User Library. The icon will now be available in My Library (the second tab in the Icon Library area).
Here is a Help Article on how to create a custom icon in D3M.
Add icon using an existing D3M image: Select the icon whose image you wish to use in creating the new icon, select Create Custom at the bottom of the Icon Library area, add an Icon Name, select Next Step, change Ports if needed, select Next Step, change Properties if needed, and select Save to User Library. The icon will now be available in the second tab (a book with a dot above) of in the Icon Library area.
Here is a Help Article on how to create an icon from an existing icon.
Sharing an Icon with your D3M Organization
Once you have created your own icons they are only available to you. If you think an icon would be of value to others in your organization you can easily share them on an organization level, here's how:
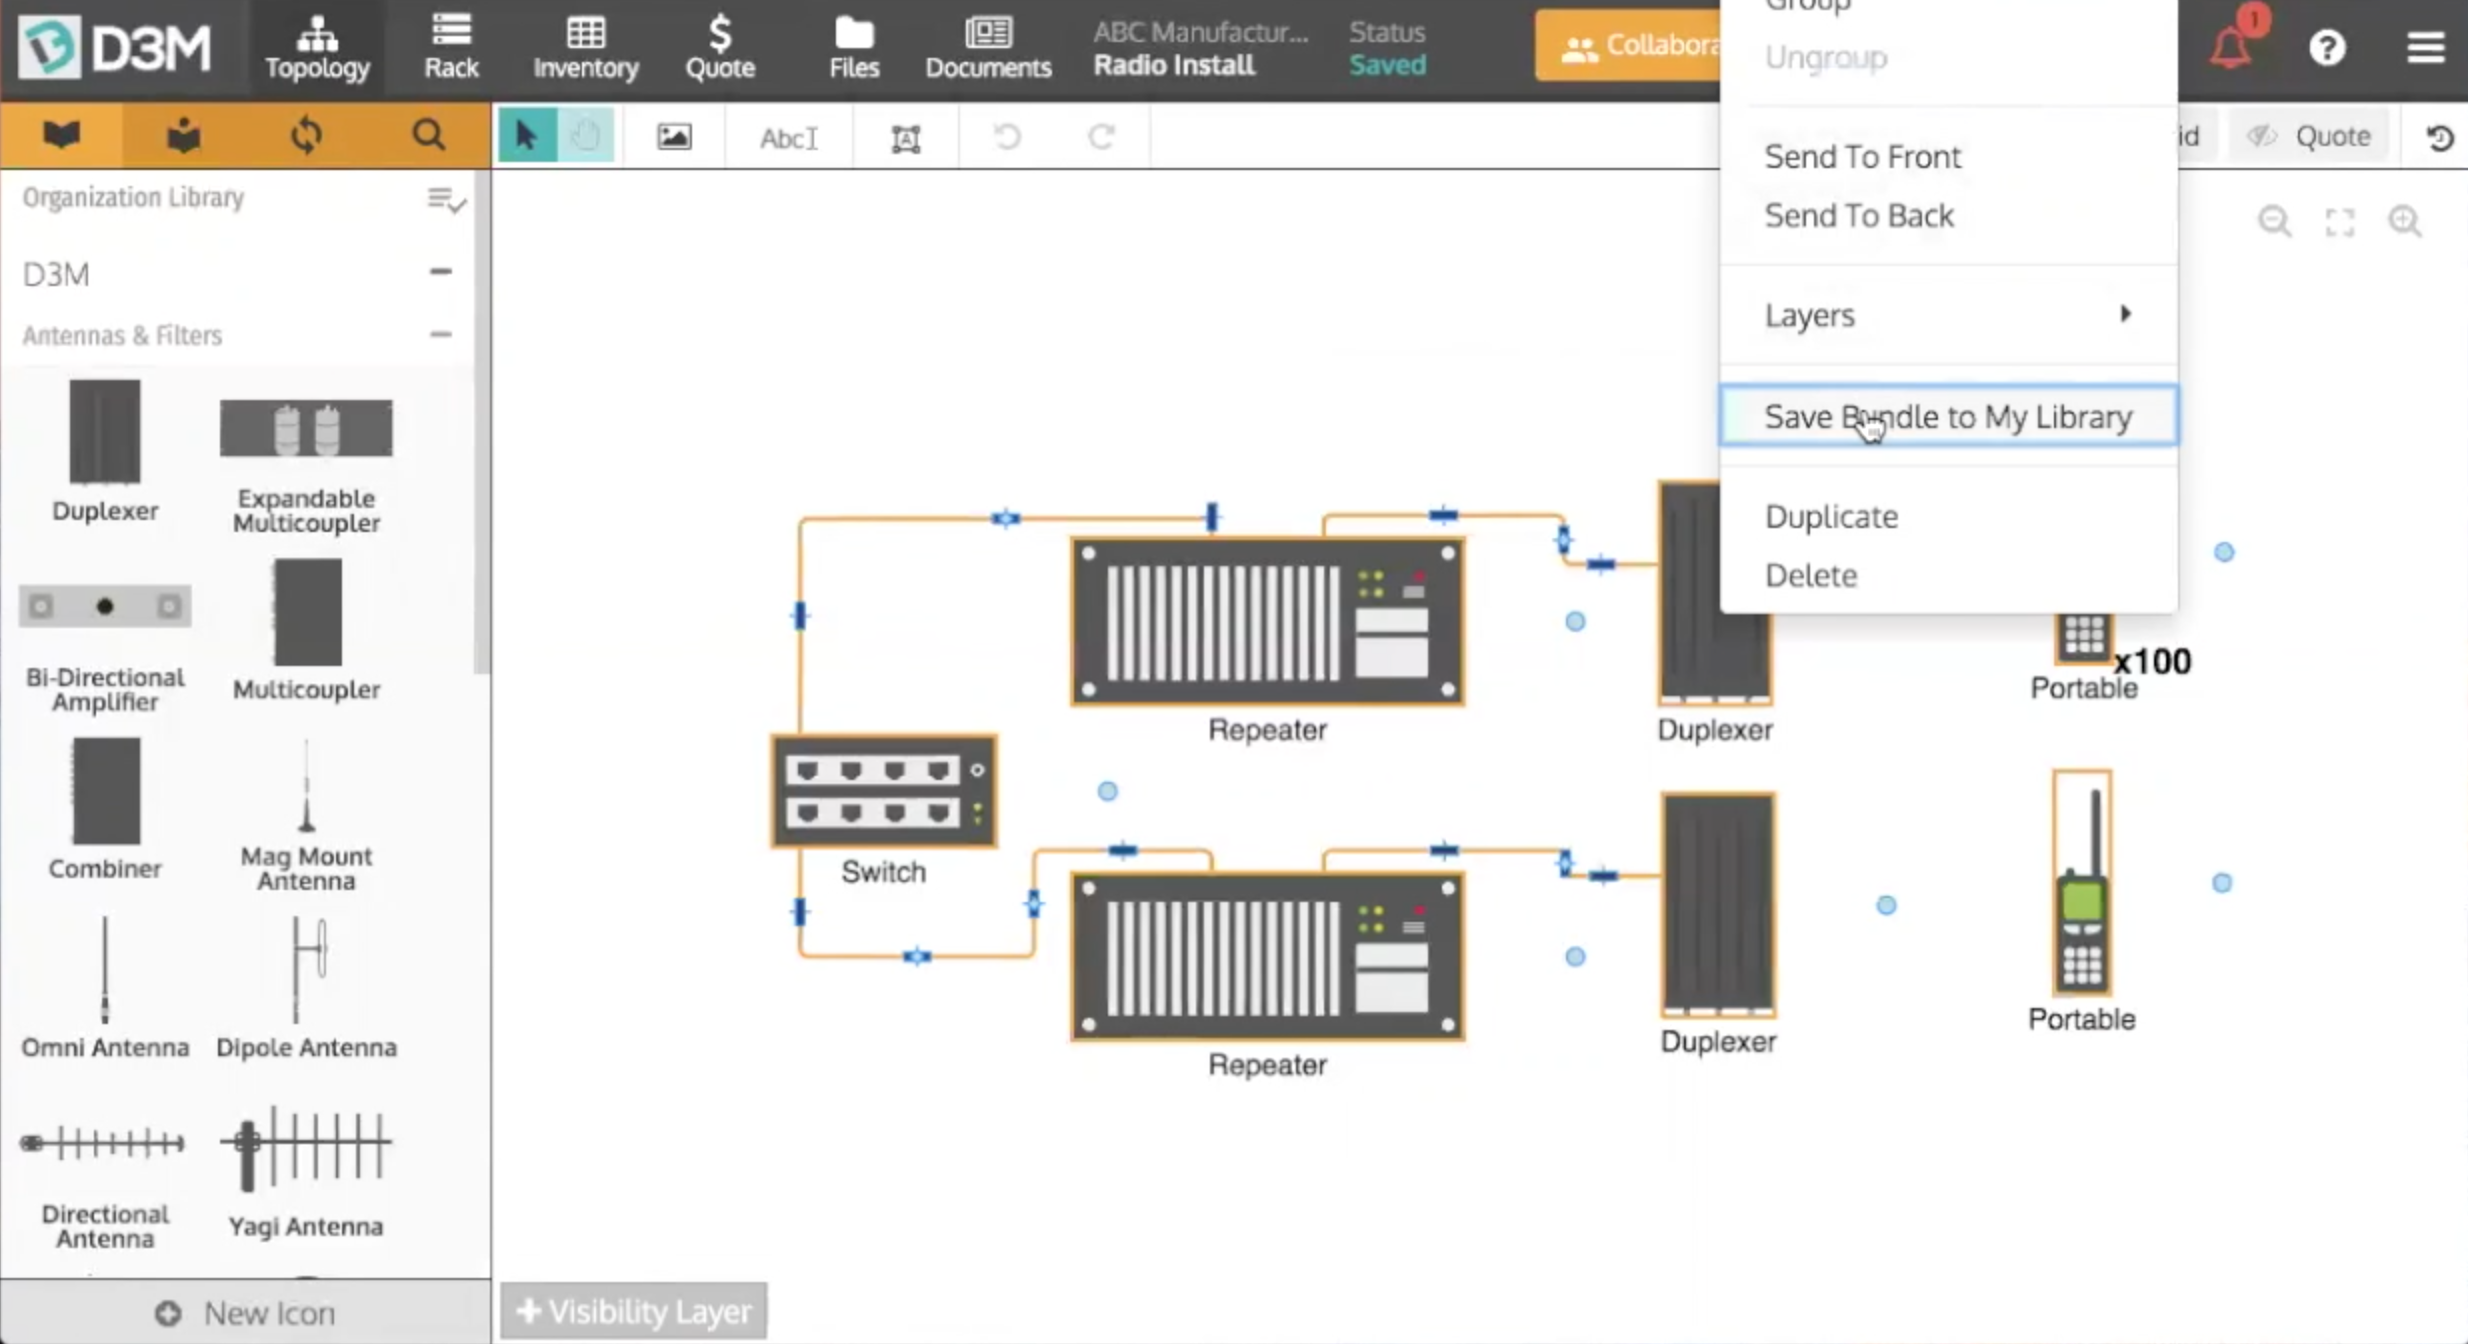
Requesting an Icon Promotion: Go to the My Library tab (the second tab in the icon library), select the icon you would like to share with your organization, select the arrow button at the bottom of the library, click Request Promotion in pop-up window. Now an Admin must approve the request before the icon is available to the organization.
Accepting an Icon Promotion Request (must be an Admin): Go to Admin Settings, select Library tab, select Requested Promotions, hover over the icon to be promoted and click the thumbs up, click Promote in the pop-up window, review the icon, make any necessary changes and click Save to Organization Library. This icon will now be available to all users in your D3M organization.
Here is a Help Article on how to share icons with your organization.
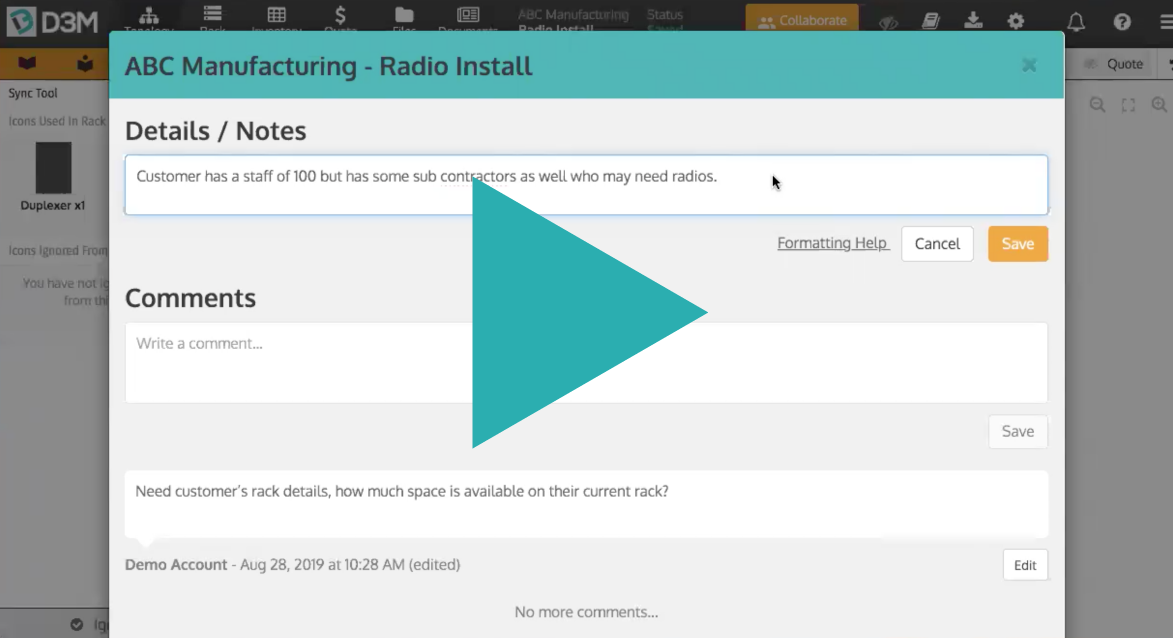
Watch the Recording
We had a great turnout and want to thank everyone who attended! For those of you who couldn't make it, below is a recording of the webinar. To see our icon libraries for yourself, start for free or log back in!
Check out the webinar recording below.

Hope to see you at our next webinar!
The D3M Team