To ensure your D3M account is set up and ready to go, complete the following checklist items below! All checklist items can be found under the Admin Settings. To find the Admin Settings click the hamburger menu in the top right corner of D3M.
Note: To have access to the Admin Settings in D3M you must be an Admin. If you are not an Admin simply ask your D3M Admin to complete these steps or to make you an Admin as well.
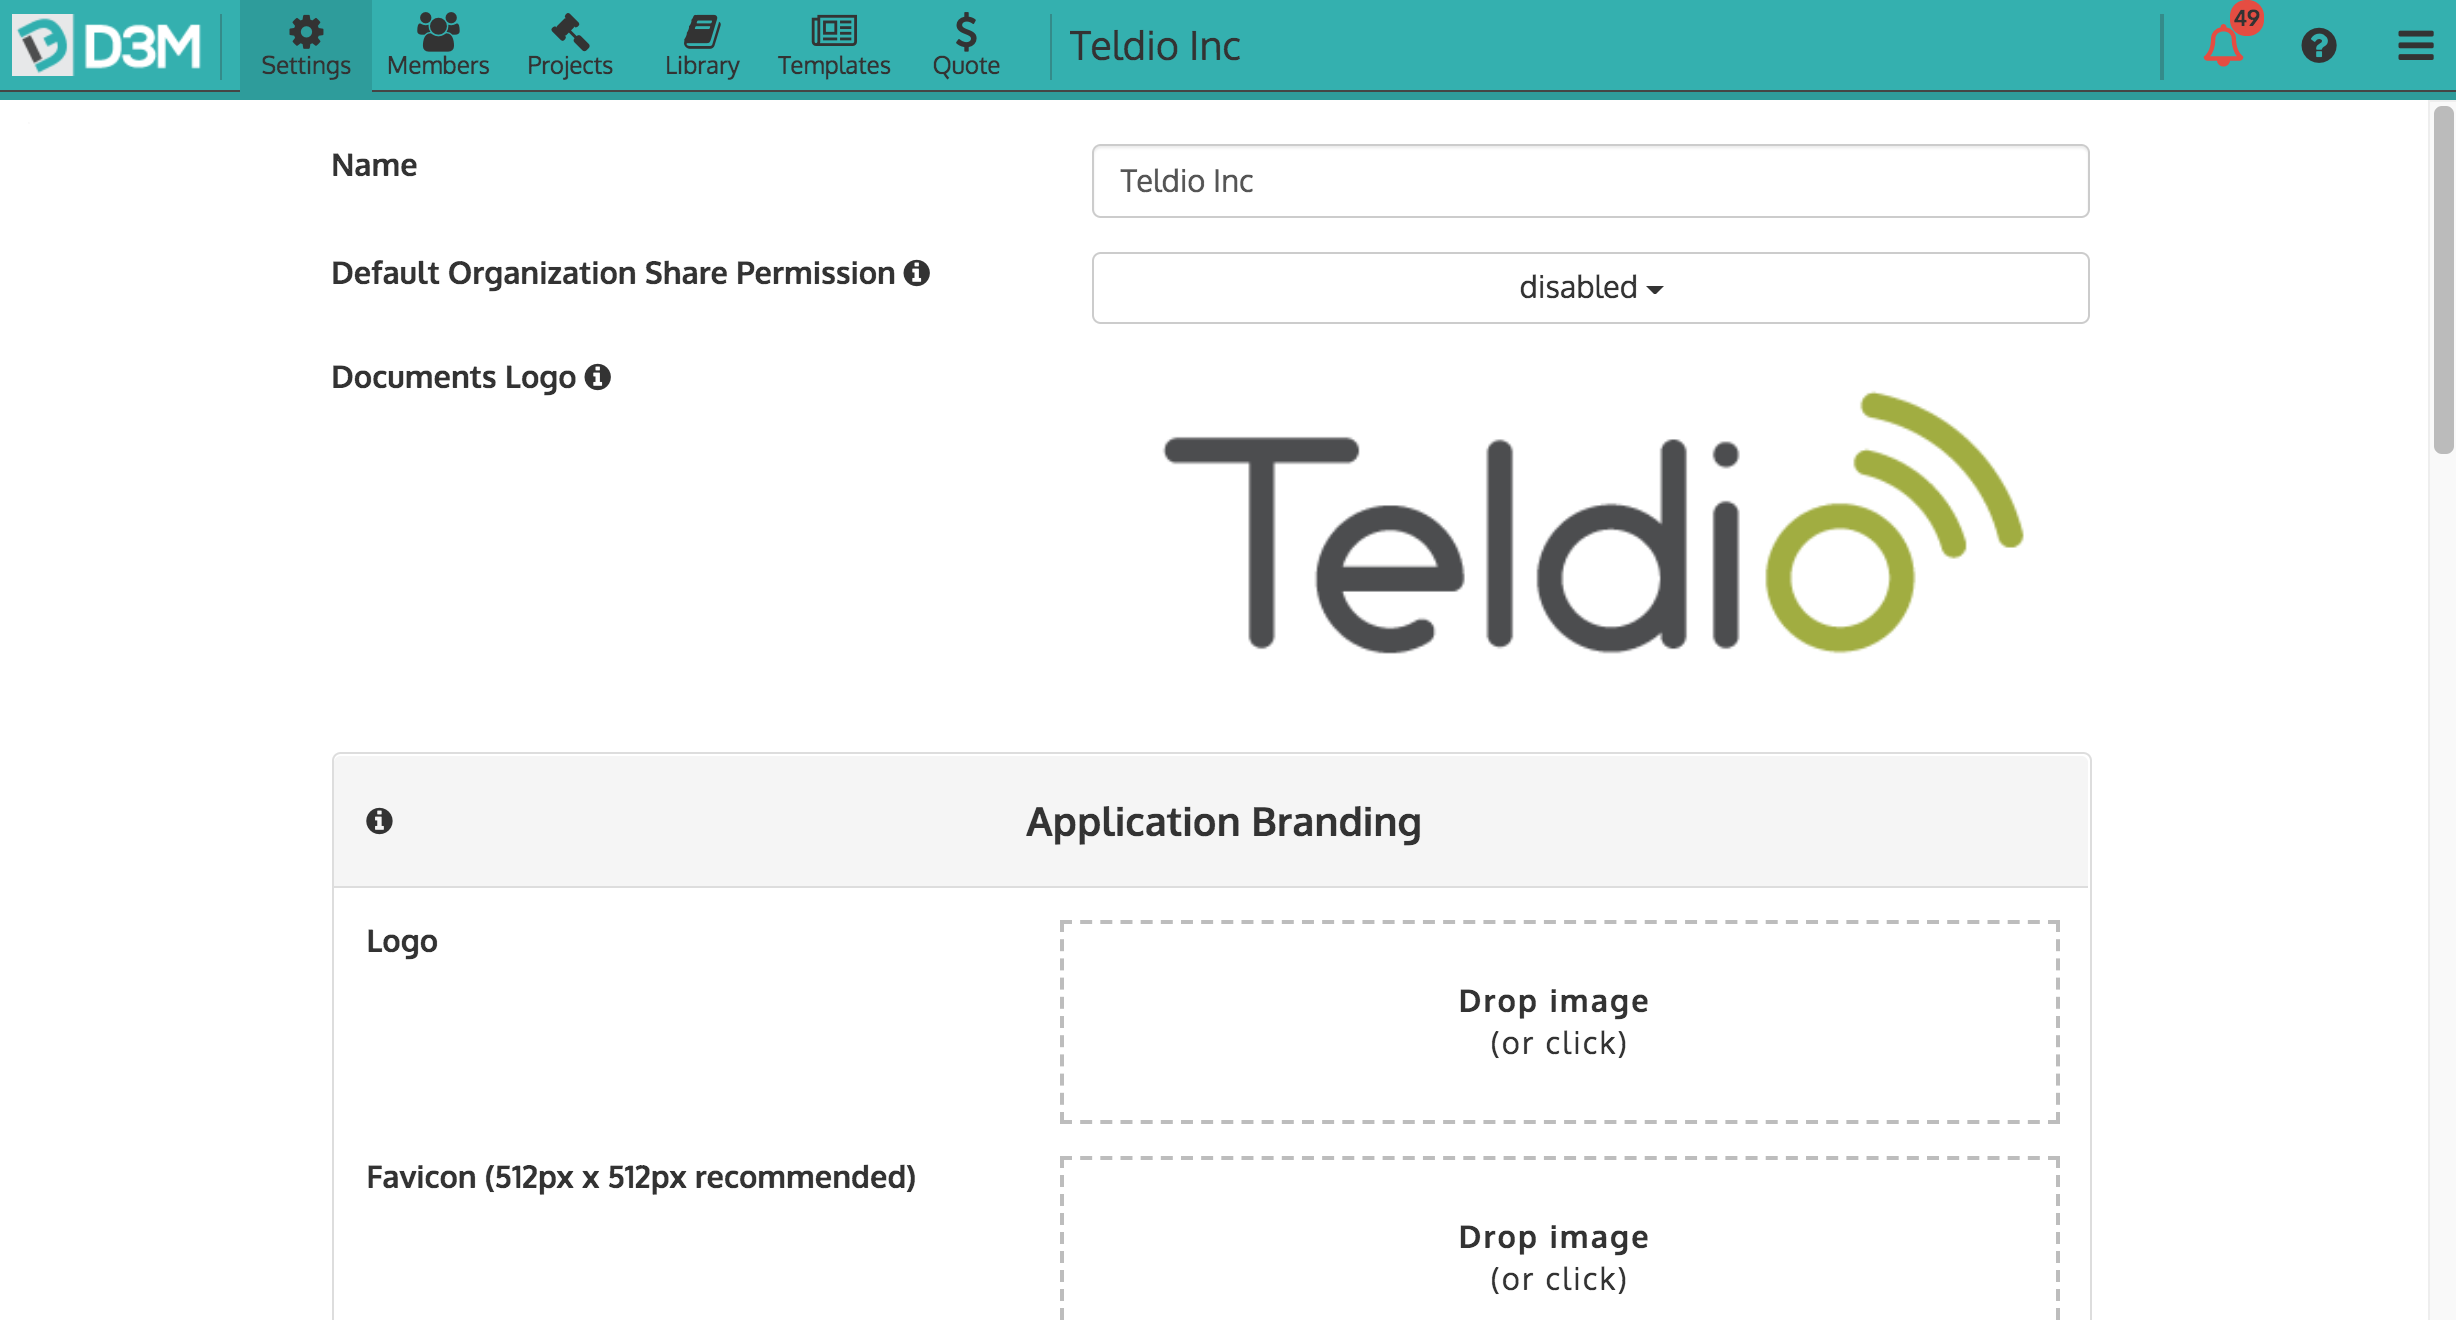
- Upload company logo to brand the application and customer documents
- Add company colors under Application Branding to make D3M look like your company’s own software
- Add all of your office addresses under Offices to easily filter projects based on location
- Invite all colleagues to join the D3M account and manage their permissions
- Under the Library Management tab turn on all the icon libraries you wish to give your organization access to
- Create document templates from scratch or utilizing the templates provided, simply build the document and select New Template in the bottom left corner to save it
- Under Quote Settings enable all settings you want users to have
- Upload quote parts and choose the currency, with the ability to upload multiple price books for users to toggle between
Congratulations! You’re all set up and ready to use your D3M account to the fullest.