Creating a professional network diagram doesn't have to be a long, difficult task. We put together 6 easy steps highlighting how you can quickly put together your own professional network diagram. You'll learn how to save time and reduce repetitive tasks while creating high-quality diagrams and customer-facing documentation.
1. Invest in a network diagramming software
The first thing you'll want to do it to is invest in a network diagramming software. You'll want something that fits your industry and the products you sell and install. Look for something that helps you limit repetitive tasks, reduces errors and creates high-quality diagrams and customer-facing documentation. If you're looking for a network diagramming software you can start using D3M for free today.
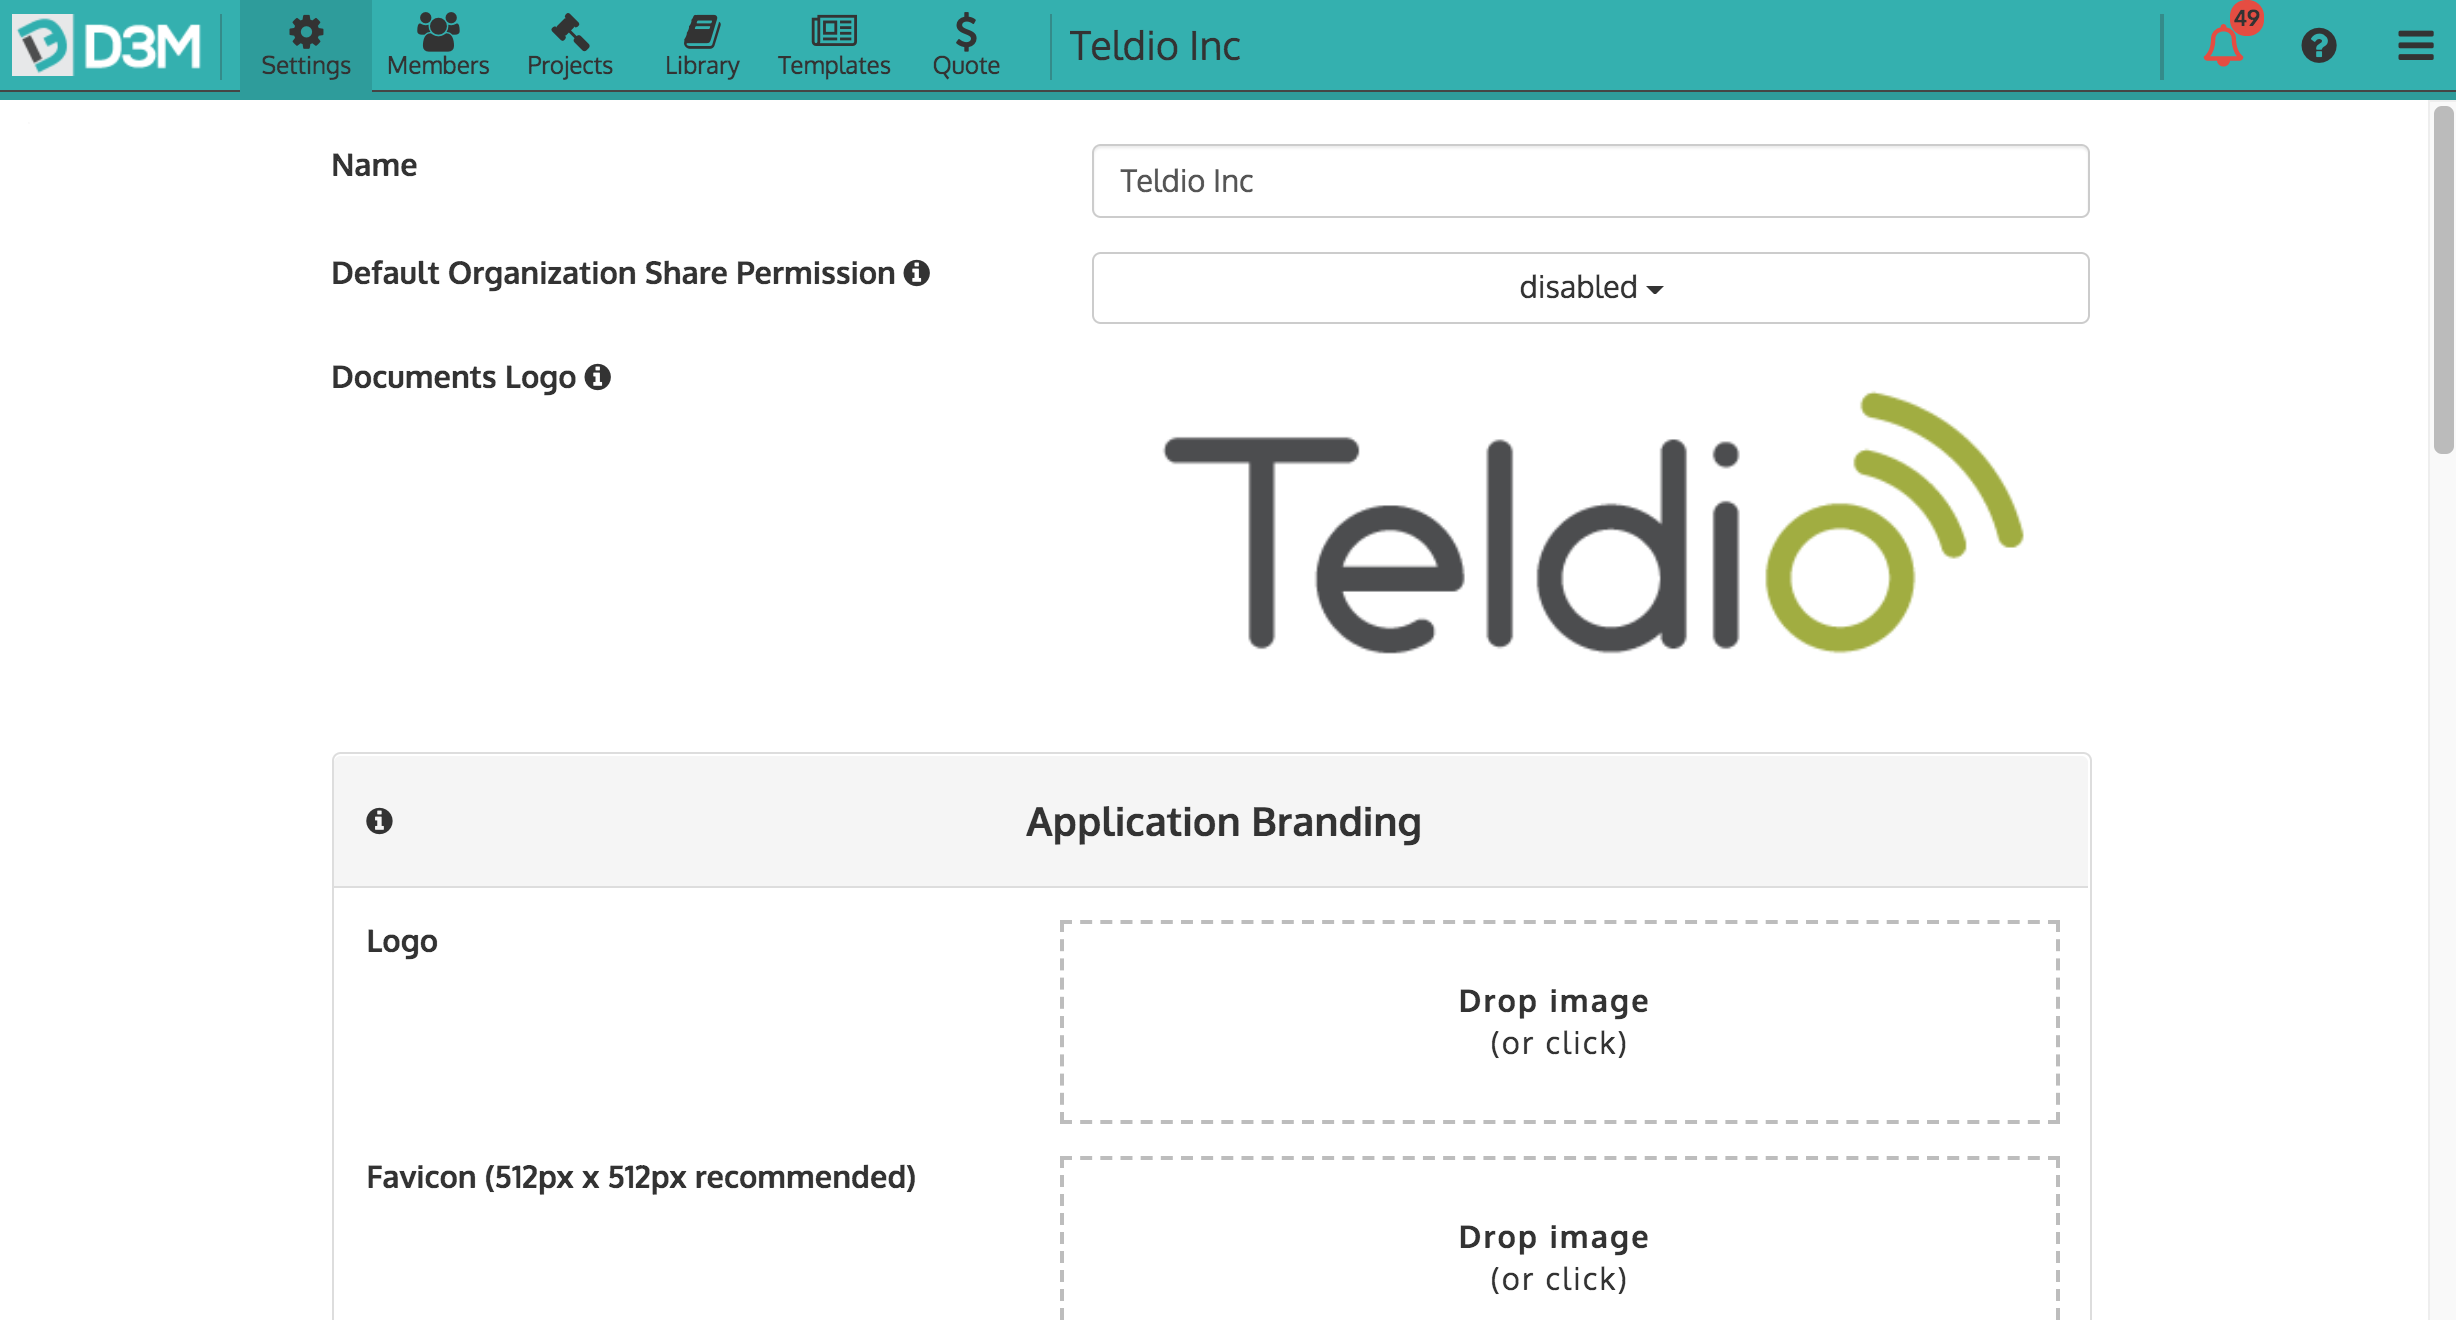
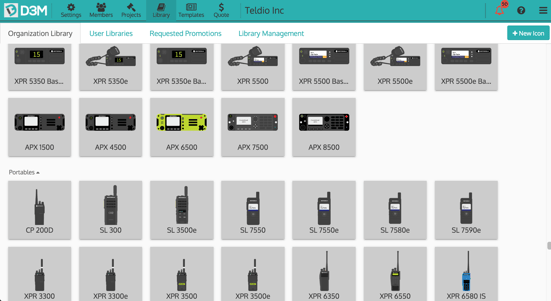
2. Load your diagramming software with the devices you sell
The next thing you'll want to do is get all the devices you sell into your diagramming software. This will help save your team time as well as ensure consistency and professional documentation throughout your projects. Some diagramming softwares come with many devices pre-loaded into the platform and we suggest taking advantage of these softwares to save you time.
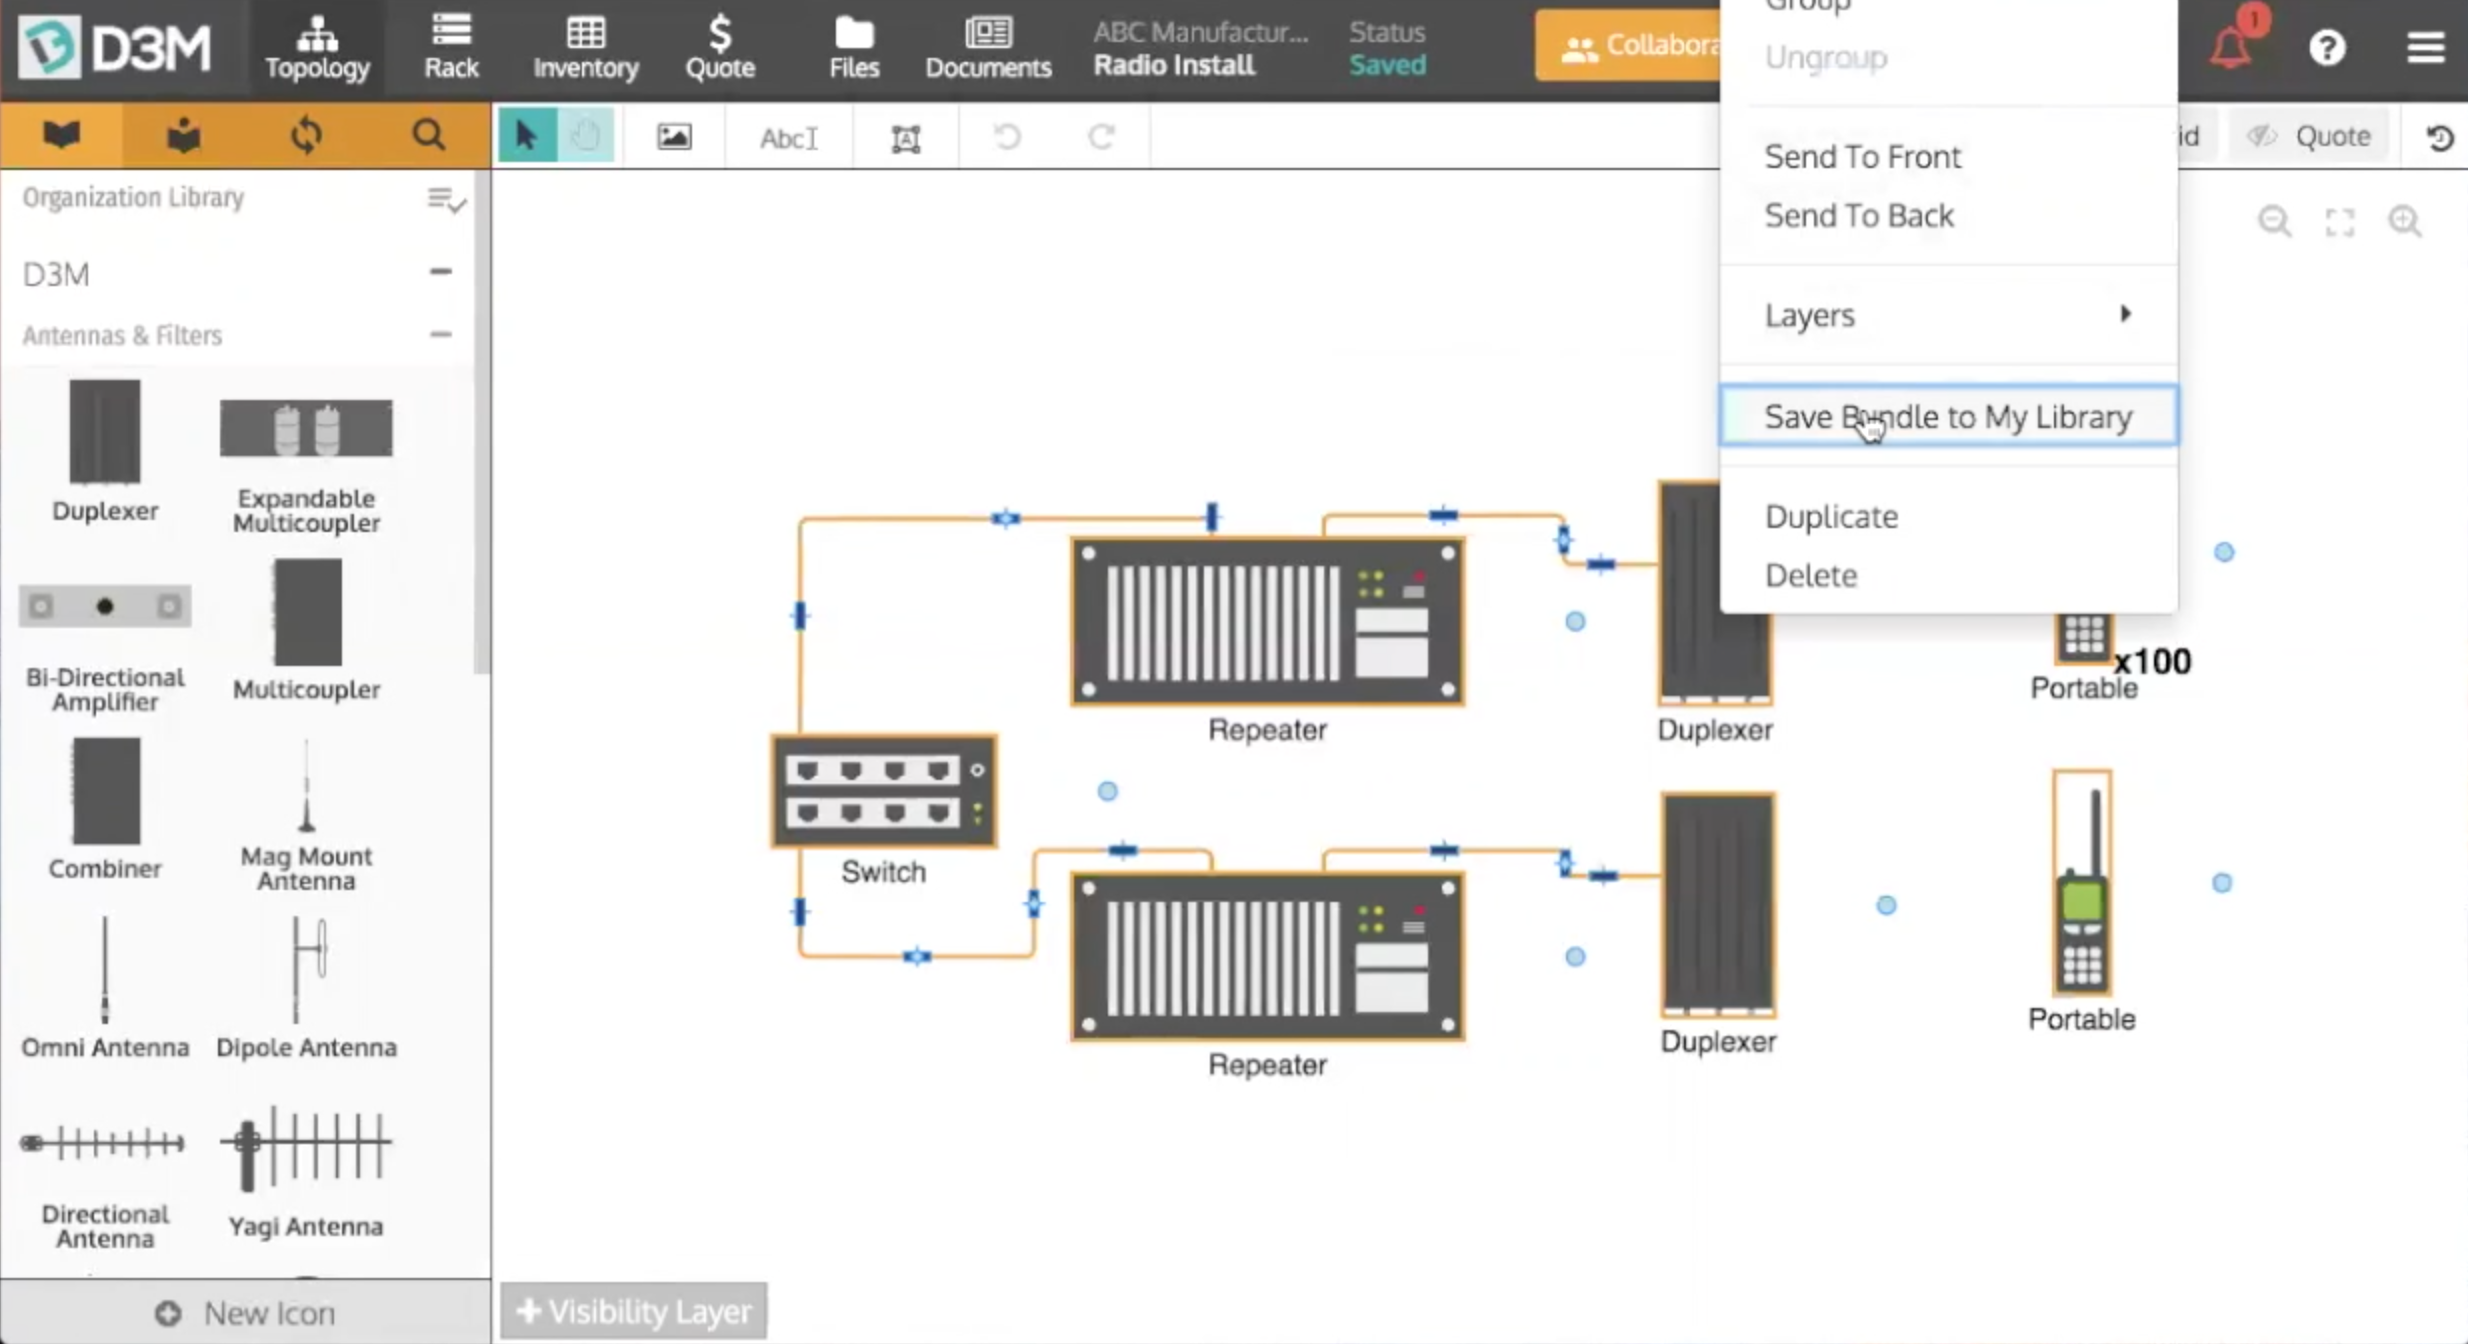
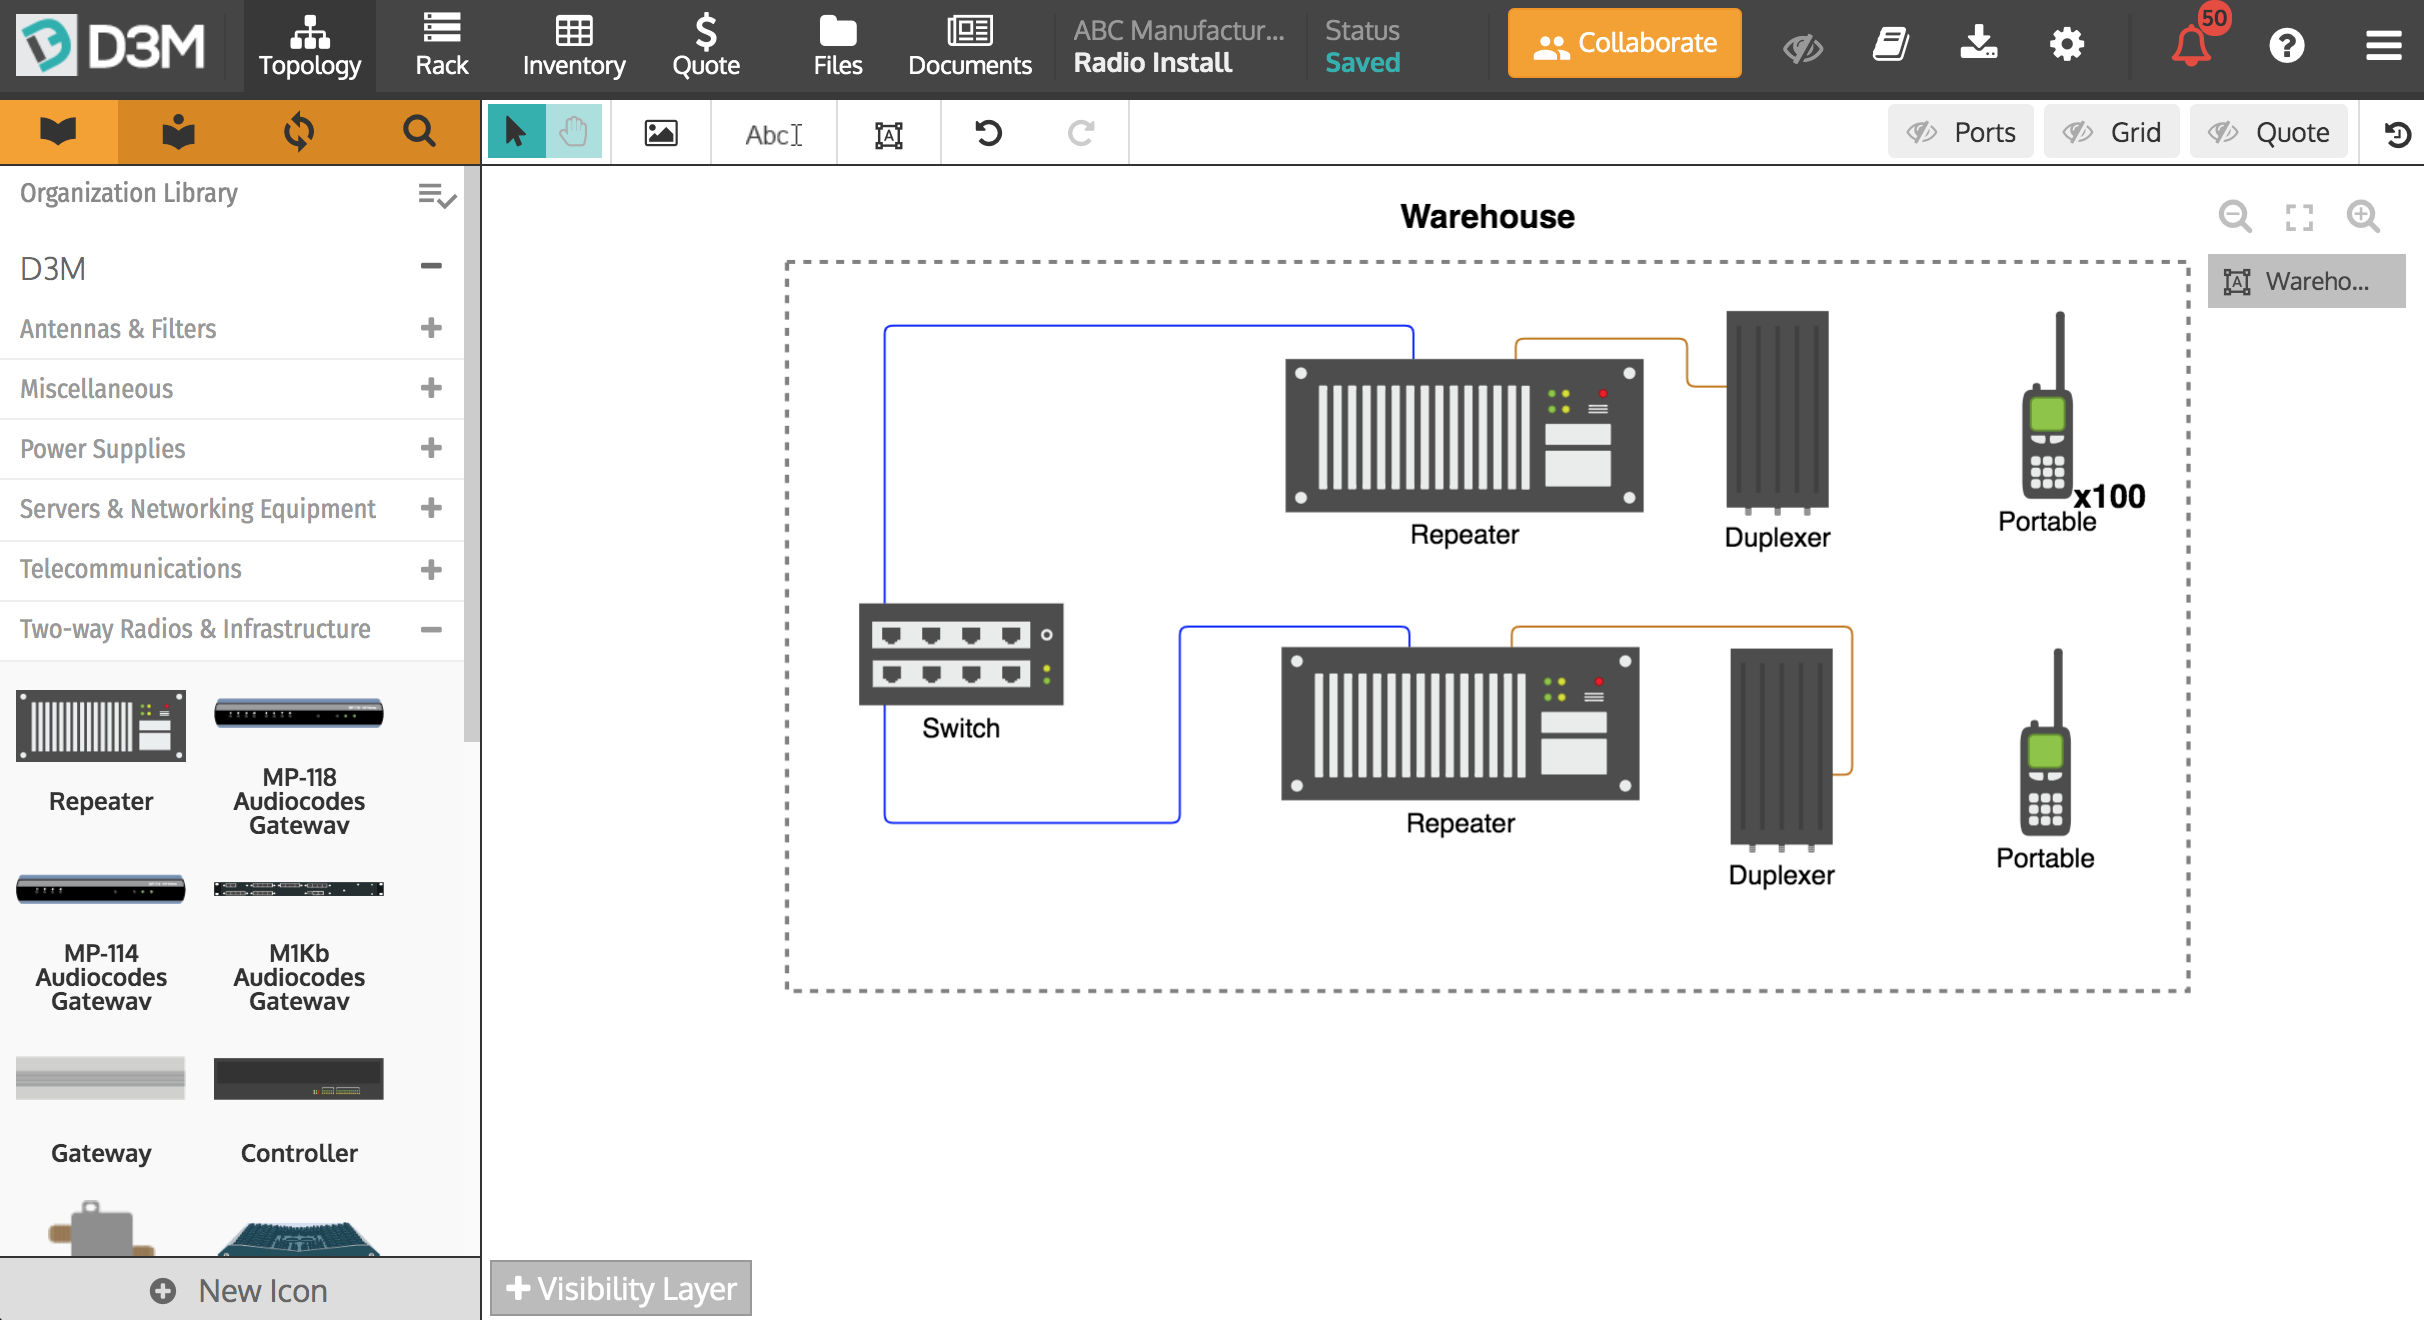
3. Build your base diagrams to use in future projects (and save tons of time!)
If you create similar networks frequently for different clients, saving these base diagrams will simplify the process and save you setup time in the future. We recommend looking for a network diagramming software that allows you to save bundles on devices, connections, and their properties all together to use on other projects. These bundles allow you to create different starting points that you can adjust for each individual project but will save you time during the initial setup and network design.
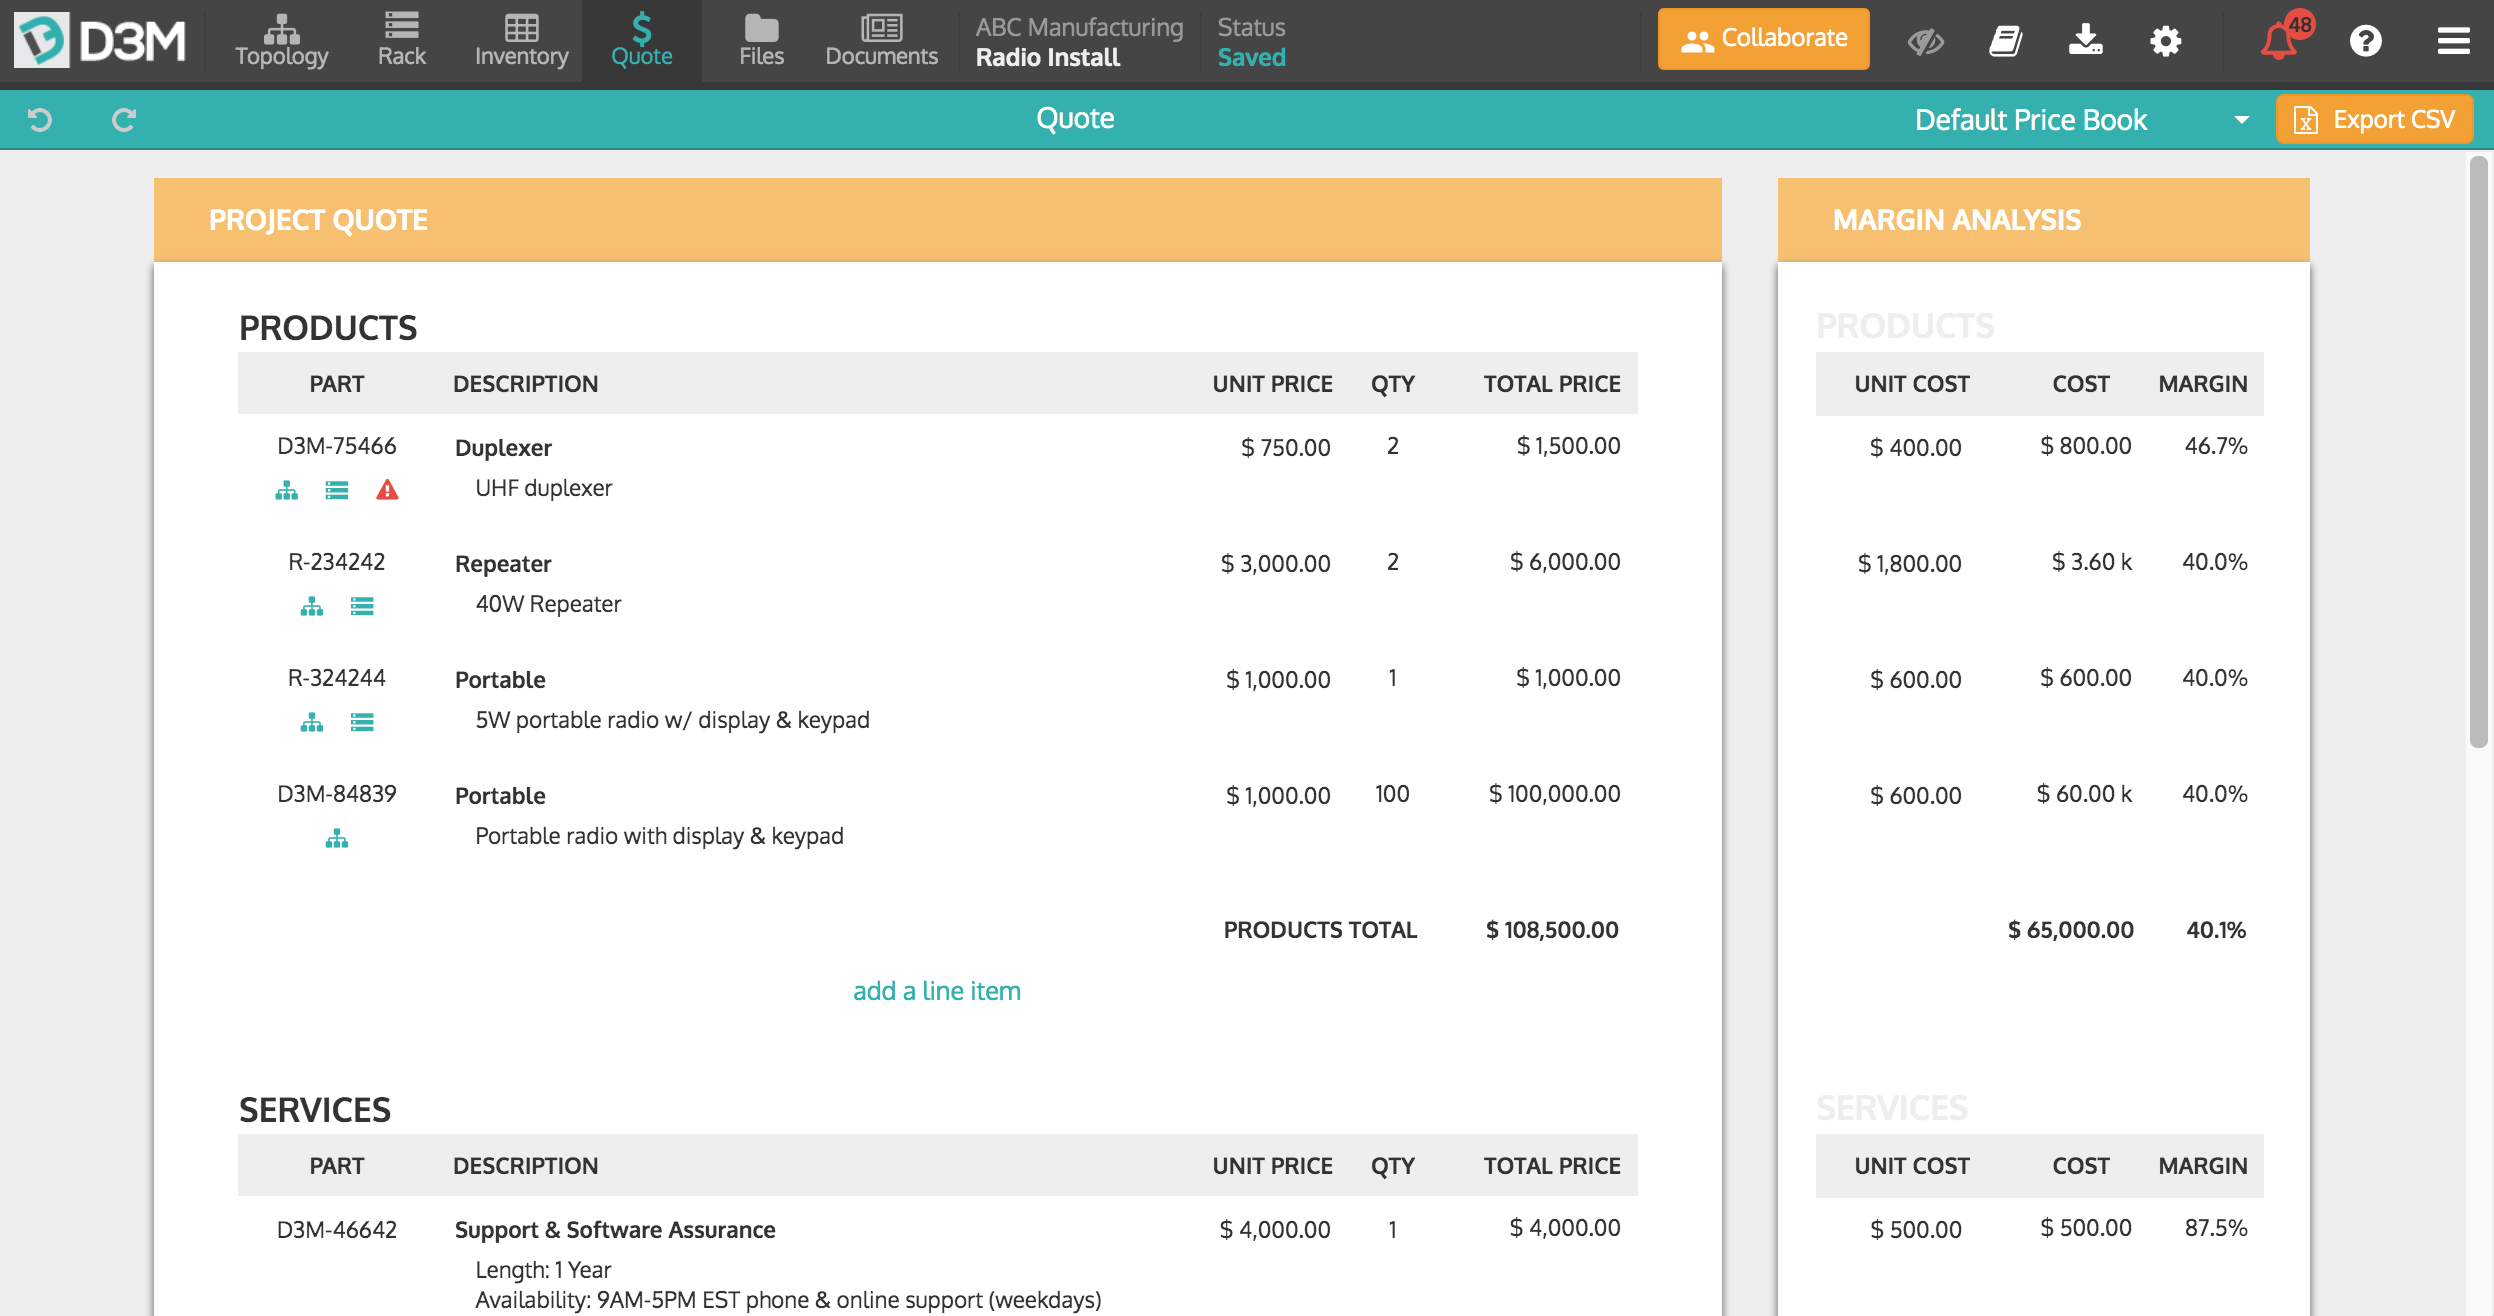
4. Add your quote parts to your diagramming software
Another way to save time when building your network diagrams is to upload your quote parts into your diagramming software. This ensures that all pricing is up-to-date and makes quoting a much easier process. Look for a diagramming software that allows you to easily upload your quotes and assign them to the devices within your project. This will help ensure that all items are quoted and with the correct pricing.
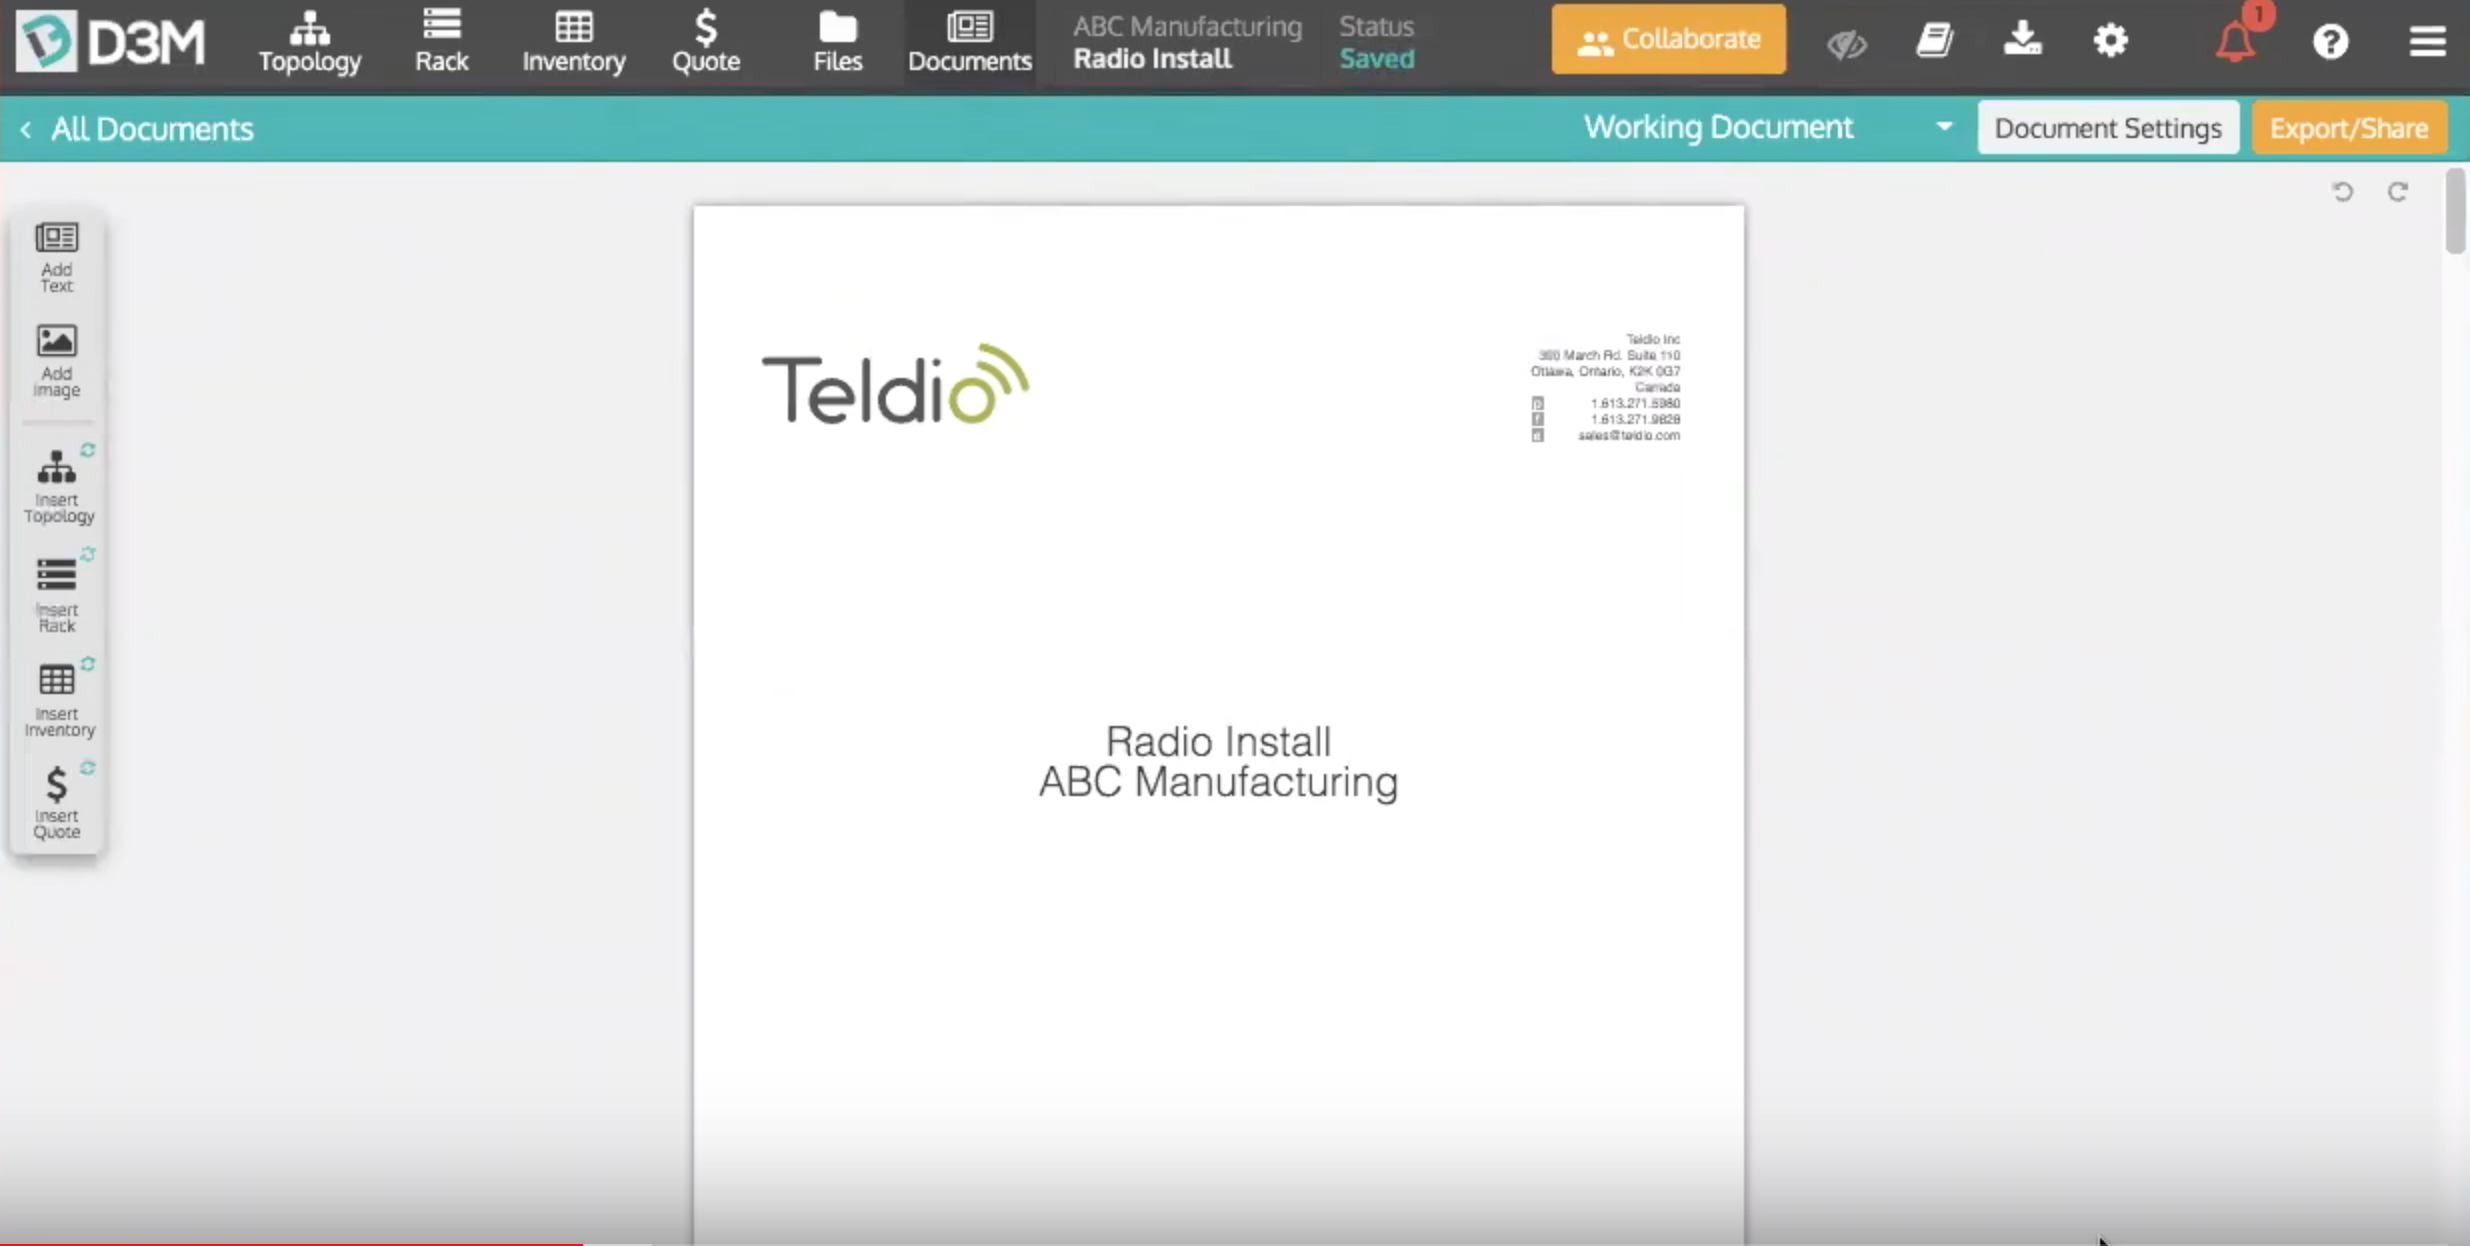
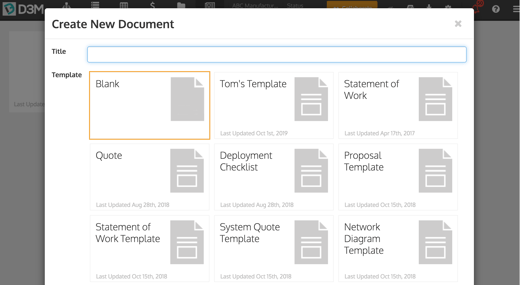
5. Create customer-facing documentation using templates
Why make something over and over again when you can utilize templates? Find a diagramming software that allows you to create templates for customer-facing documentation. Take the time to create templates for your proposals, works orders, statements of work, and whatever else you may need. From there, simply select the template you wish to use and add in the necessary information, ensuring consistency and proper branding across your company while saving your team loads of time.
6. Share your diagrams with colleagues and customers for approval
Once you've built your diagram and put together your documents you'll want to share them with your colleagues and customers. Depending on the diagramming software you have this can be an easy or time-consuming process. Look for a software that allows you to easily share entire projects with your colleagues and documents with your customers. This is an important step to receive your colleagues' help and/or feedback and to receive project approvals from customers.
Your main goal is to try to and save as much time a possible on each network diagram project, without compromising your professionalism. By investing in a network diagramming software, loading the devices you sell, building base diagrams, adding quote parts, creating customer-facing documents, and sharing your diagrams, you can reduce your project time by up to 50%. These 6 steps take a bit of time to implement but will help you and your team save a significant amount of time down the road. Learn how to get started with D3M in 3 easy steps.
See our main features released in 2019.