Here is the recording of our latest training webinar on D3M's newest feature, Smart Quoting!
This month's webinar covered our D3M's Admin Settings including all of the things you can add, change and enable with the D3M Admin Settings (or ask your Admin to do)!
The webinar jumps right into D3M by showing you how to access your Admin Settings (under the hamburger menu in the top right corner). We also give you a brief overview of User Settings, which all D3M users have access to. User Settings allow you to change your personal information, password and notification options.
From there we dive into each Admin Setting section individually:
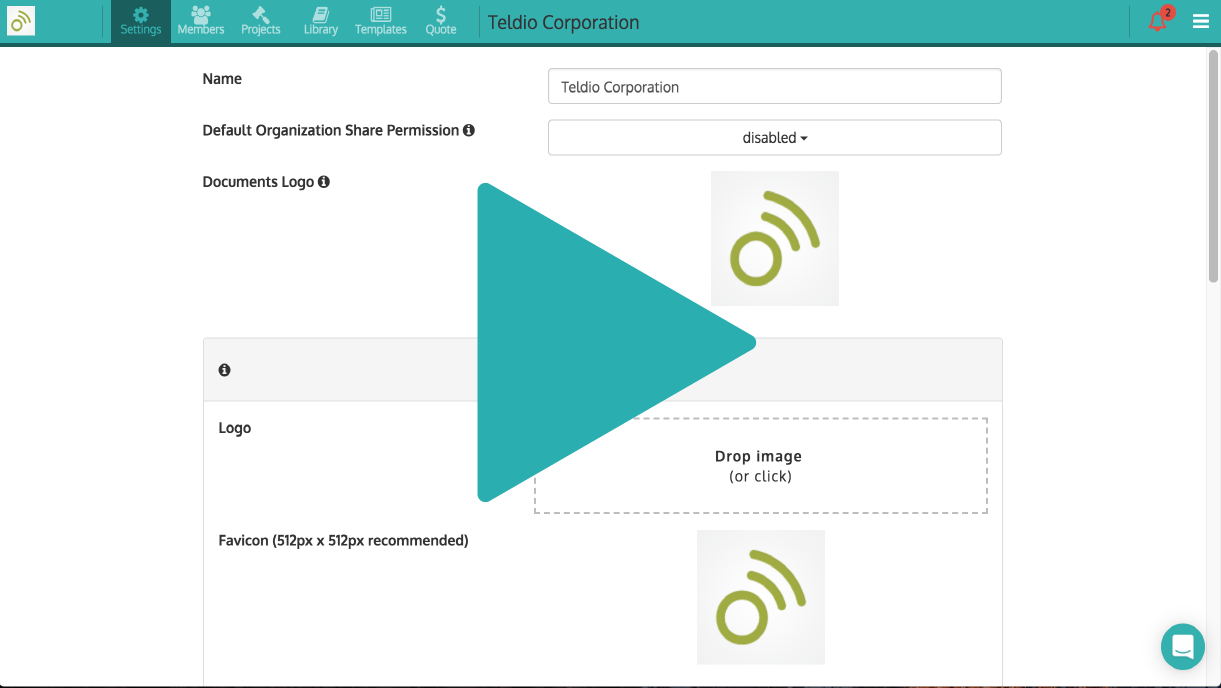
Settings: Here is where you can set and change your company name and logo, default sharing permissions, statues and offices. This is also the section where you can enable application branding (white labelling) across the entire platform by adding your company's logo, favicon and colours. If you are the Owner of you D3M account, this is also the section where you can easily transfer ownership to another user if needed.
Members: The members section allows you to invite, edit and delete users within your D3M account. This is also where you can set users' permission levels (admin or user).
Projects: This section looks very similar to the first screen you see when signing into D3M, a list of all the projects you have created or have been shared with you, however as an Admin you can view all project created within the entire D3M account. As you can within the main page view you can filter, search and sort projects, but you can also transfer a project from one owner to another, manage and change the sharing settings, and delete projects.
Library: This section is where you manage both your organization's icon libraries and user's icon libraries, including the ability to edit, delete and create custom icons. You also use this section to accept or decline requested promotions from other users within your D3M account. Whichever icon request promotions you accept will be available for your entire organization to use. Lastly, you can manage the icon libraries your D3M users can view by simply selecting the icon libraries you wish for all your users to see.
Templates: Here is where you can manage the document templates which are available to all users within your D3M account. You can also create new document templates from this section.
Quote: The final section is where you can enable and disable the quote section, set different items such as currency and quote number prefix and turn on or off the ability to allow users to change prices and create custom parts. This section is also where you upload your quote parts to begin using them within D3M. Here is how to upload and manage your quote parts.
We had a great turnout and want to thank everyone who attended! For those of you who couldn't make it, below is a recording of the webinar. To see our icon libraries for yourself, start for free or log back in!
Check out the webinar recording below.

Hope to see you at our next webinar!
The D3M Team