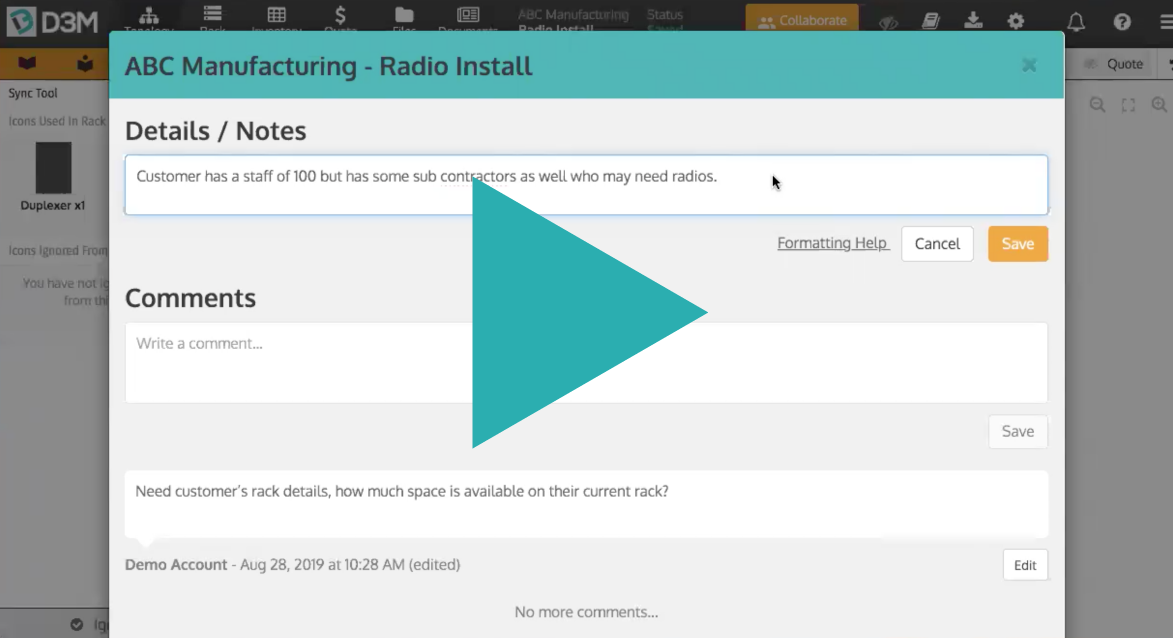
Here is the recording of our latest training webinar on how to create rack diagrams in D3M!
This month's webinar covered D3M's rack diagrams, from how to build a rack diagram, to adding devices to your rack, to keeping track of your inventory.
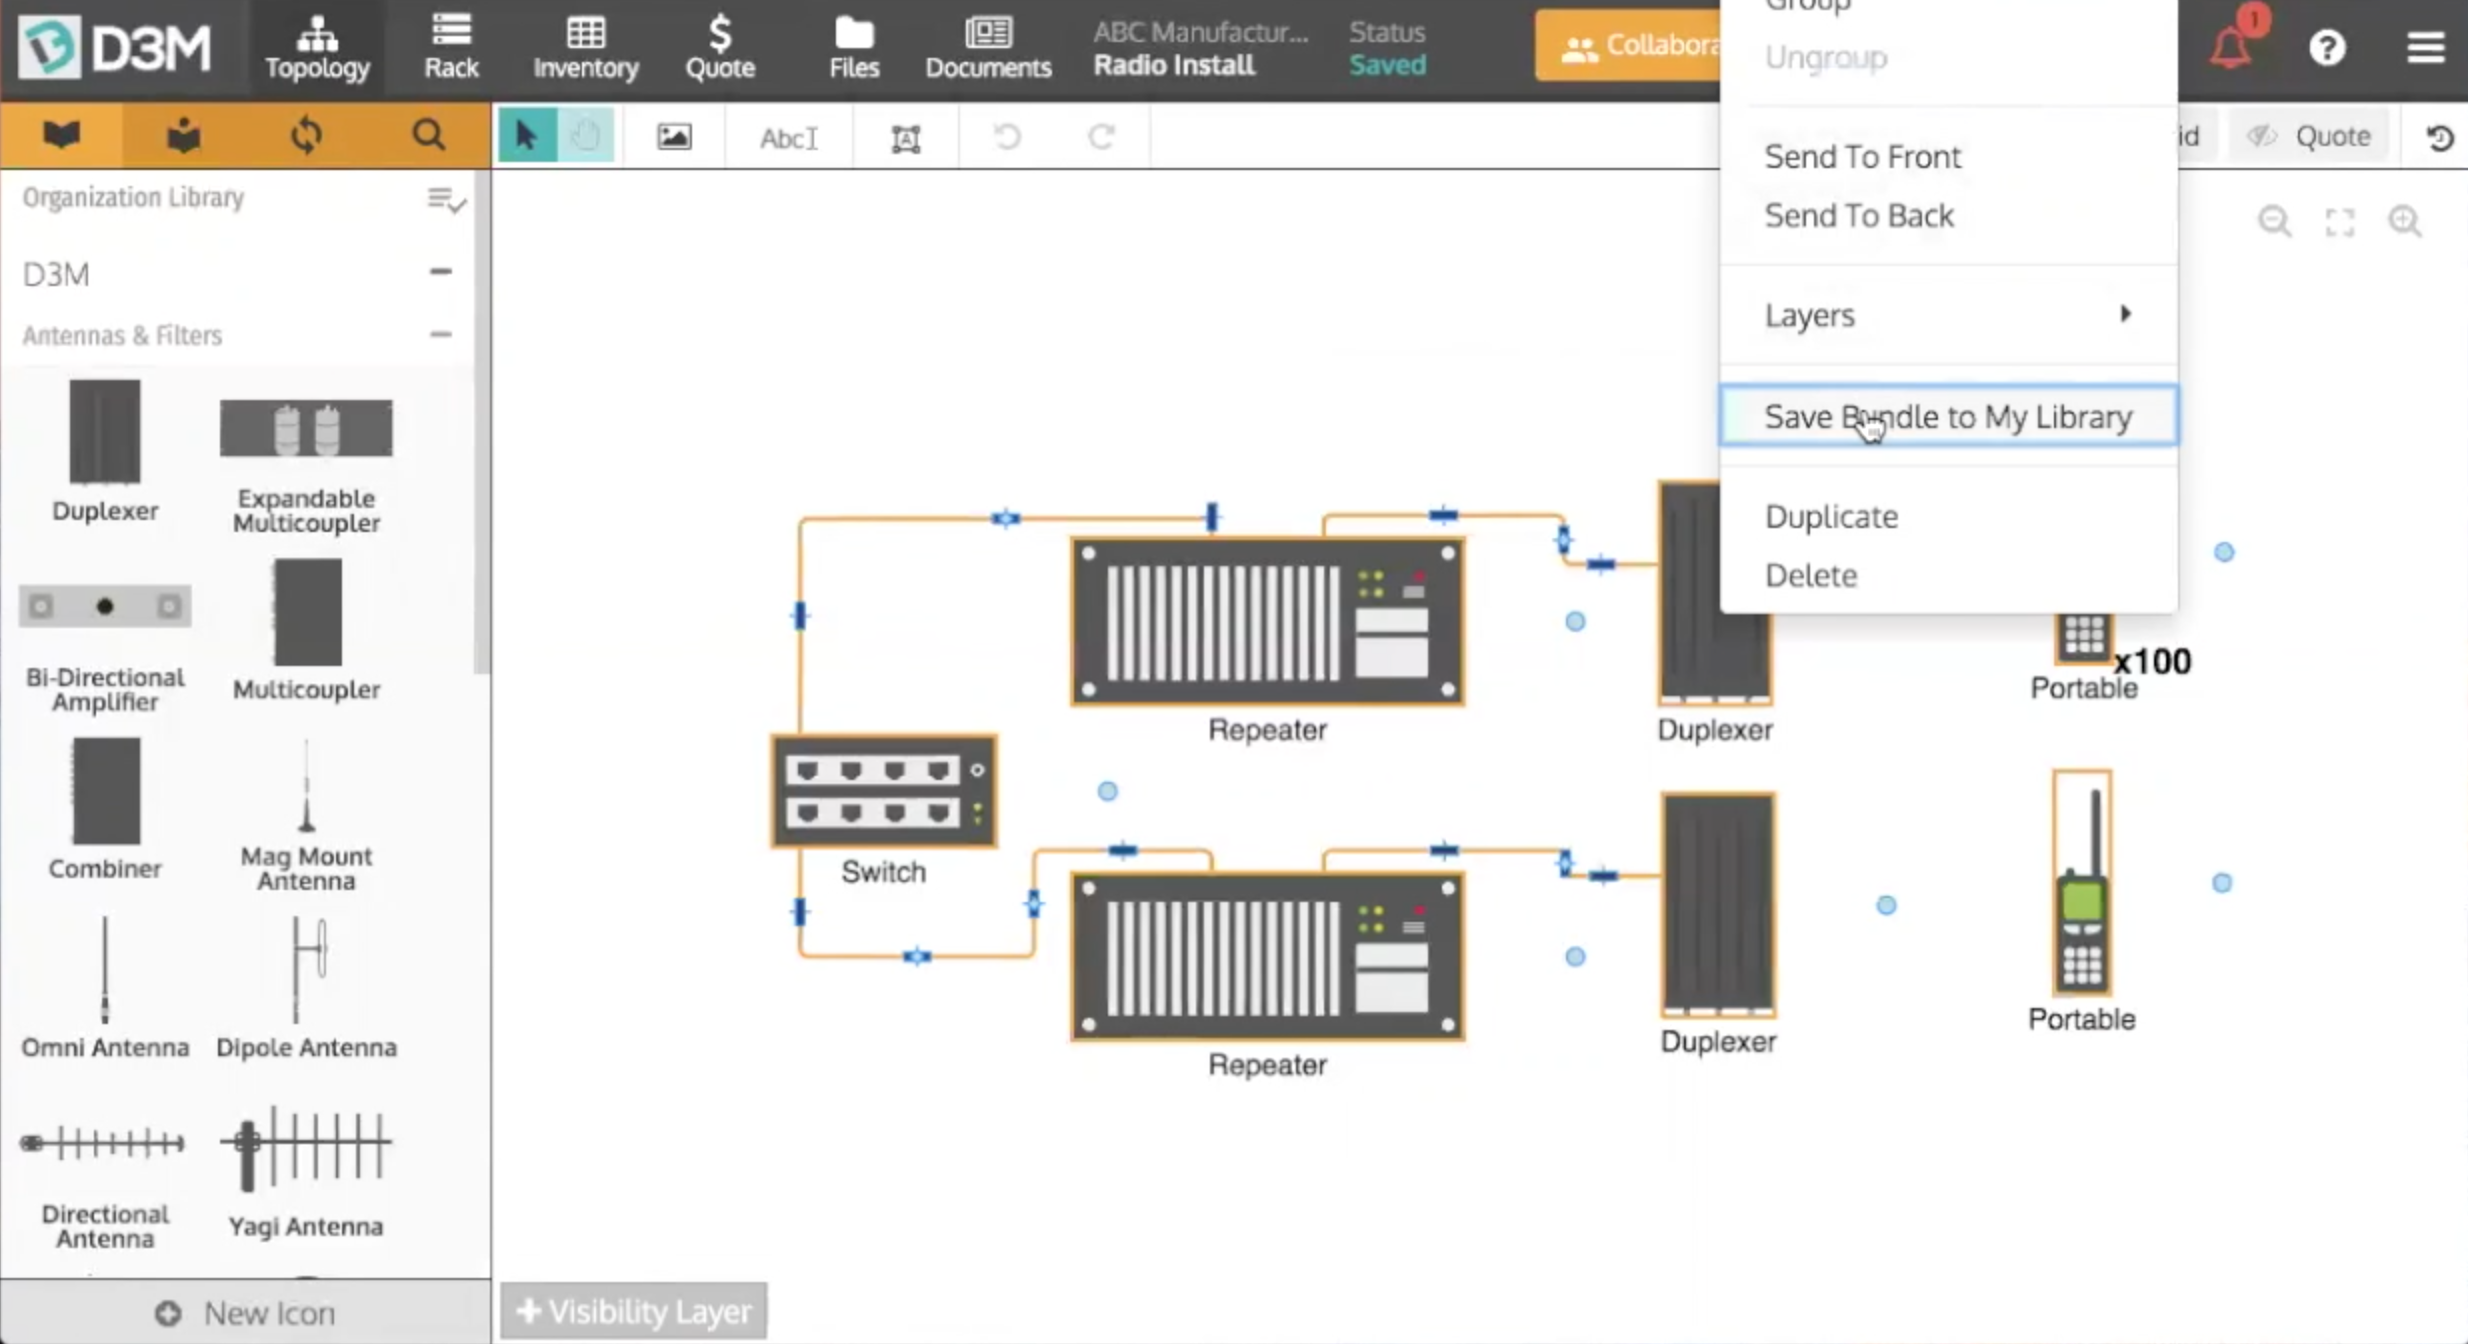
The webinar begins by jumping into a D3M project where a topology diagram has already been completed. From here we move into the Rack tab in D3M.
Here is an overview of our rack diagrams.
Building a Rack Diagram
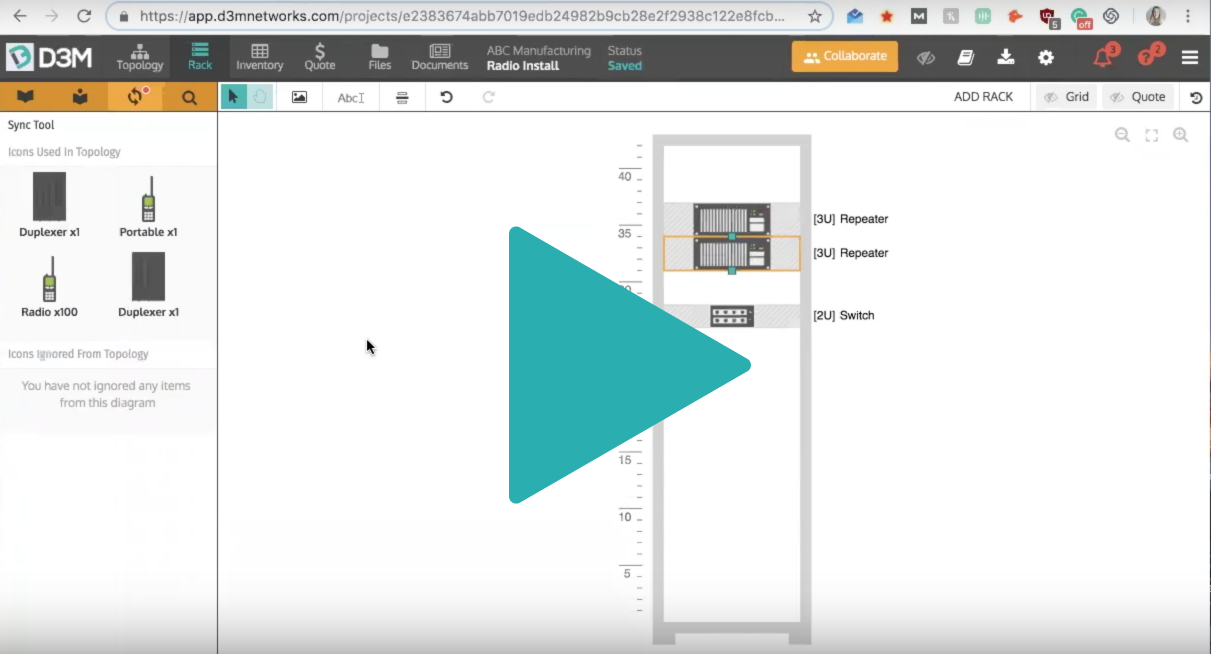
We then begin by going over the D3M Sync Tool which displays all icons you have used within other tabs in D3M, ensuring all devices are accounted for. In this case, the Sync Tool (left side of your screen) is displaying the devices we already used in the topology view. Utilizing the Sync Tool, we add a rack onto the diagram and drag and drop devices from Sync Tool into the rack. From here you are able to resize the devices to their specific heights (in Us).
If a device is not going to be put in the rack simply select the device in the Sync Tool and click Ignore Icon at the bottom of the Sync Tool. This will not delete the device but tell D3M that you have accounted for this device and it does not belong on the rack.
Learn more about the D3M Sync Tool.
Stacking and Moving Devices in a Rack Diagram
We then jump into how you can freely stack and move devices around within your rack diagram. Whether you want to put a radio on its side, change a devices size or stack devices the D3M Rack Container Tool allows you to manipulate devices to show how they will appear on the rack in reality.
To use the Rack Container Tool simply click the icon in the top left corner of your screen (the three stacked blocks) and select where on your rack you'd like to add the container, adjusting the height as needed. You can then begin adding your devices and manipulating them (turning, resizing, stacking, etc.) as they would be displayed on the actual the rack.
Accounting for Used Space within a Rack
The Rack Container Tool can also be used to represent used space, whether it is used space from a previous deployment or a customers' own devices. To add used space to a rack follow the same steps as above except when you select where on the rack you would like the used space to be, click Reserved in the right pop out window. This specifies to D3M that this space is not available and if you try to add devices to this designated space D3M will automatically remove them.

Sharing your Rack Diagram
Once you've built your rack diagram you'll want to share it with either your colleagues for a second opinion or with your customers for approval. Here's how to do both!
Collaborate with your team
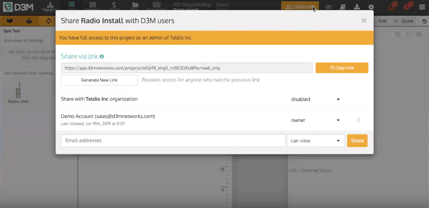
If you would like to collaborate with your team you have two options; share it with a D3M user or share it with a non D3M user. To begin any collaboration with your team you need to click the Collaborate button in the top right corner.
Sharing with a D3M user: If you wish to share it with a D3M user in your organization simply write their email address in the Email Address field, select the share privilege you wish to give them from the dropdown menu and click Share. This will send an email to your colleague letting them know you shared a D3M project with them.
Sharing with a non D3M user: If you wish to share your project with a colleague who does not have a D3M account, copy the link provided in the Collaborate dialogue box and send it to them. This will allow your colleague to see everything you see within your project but they will be unable to edit anything, as they will have read-only privileges.
 Share with your customers
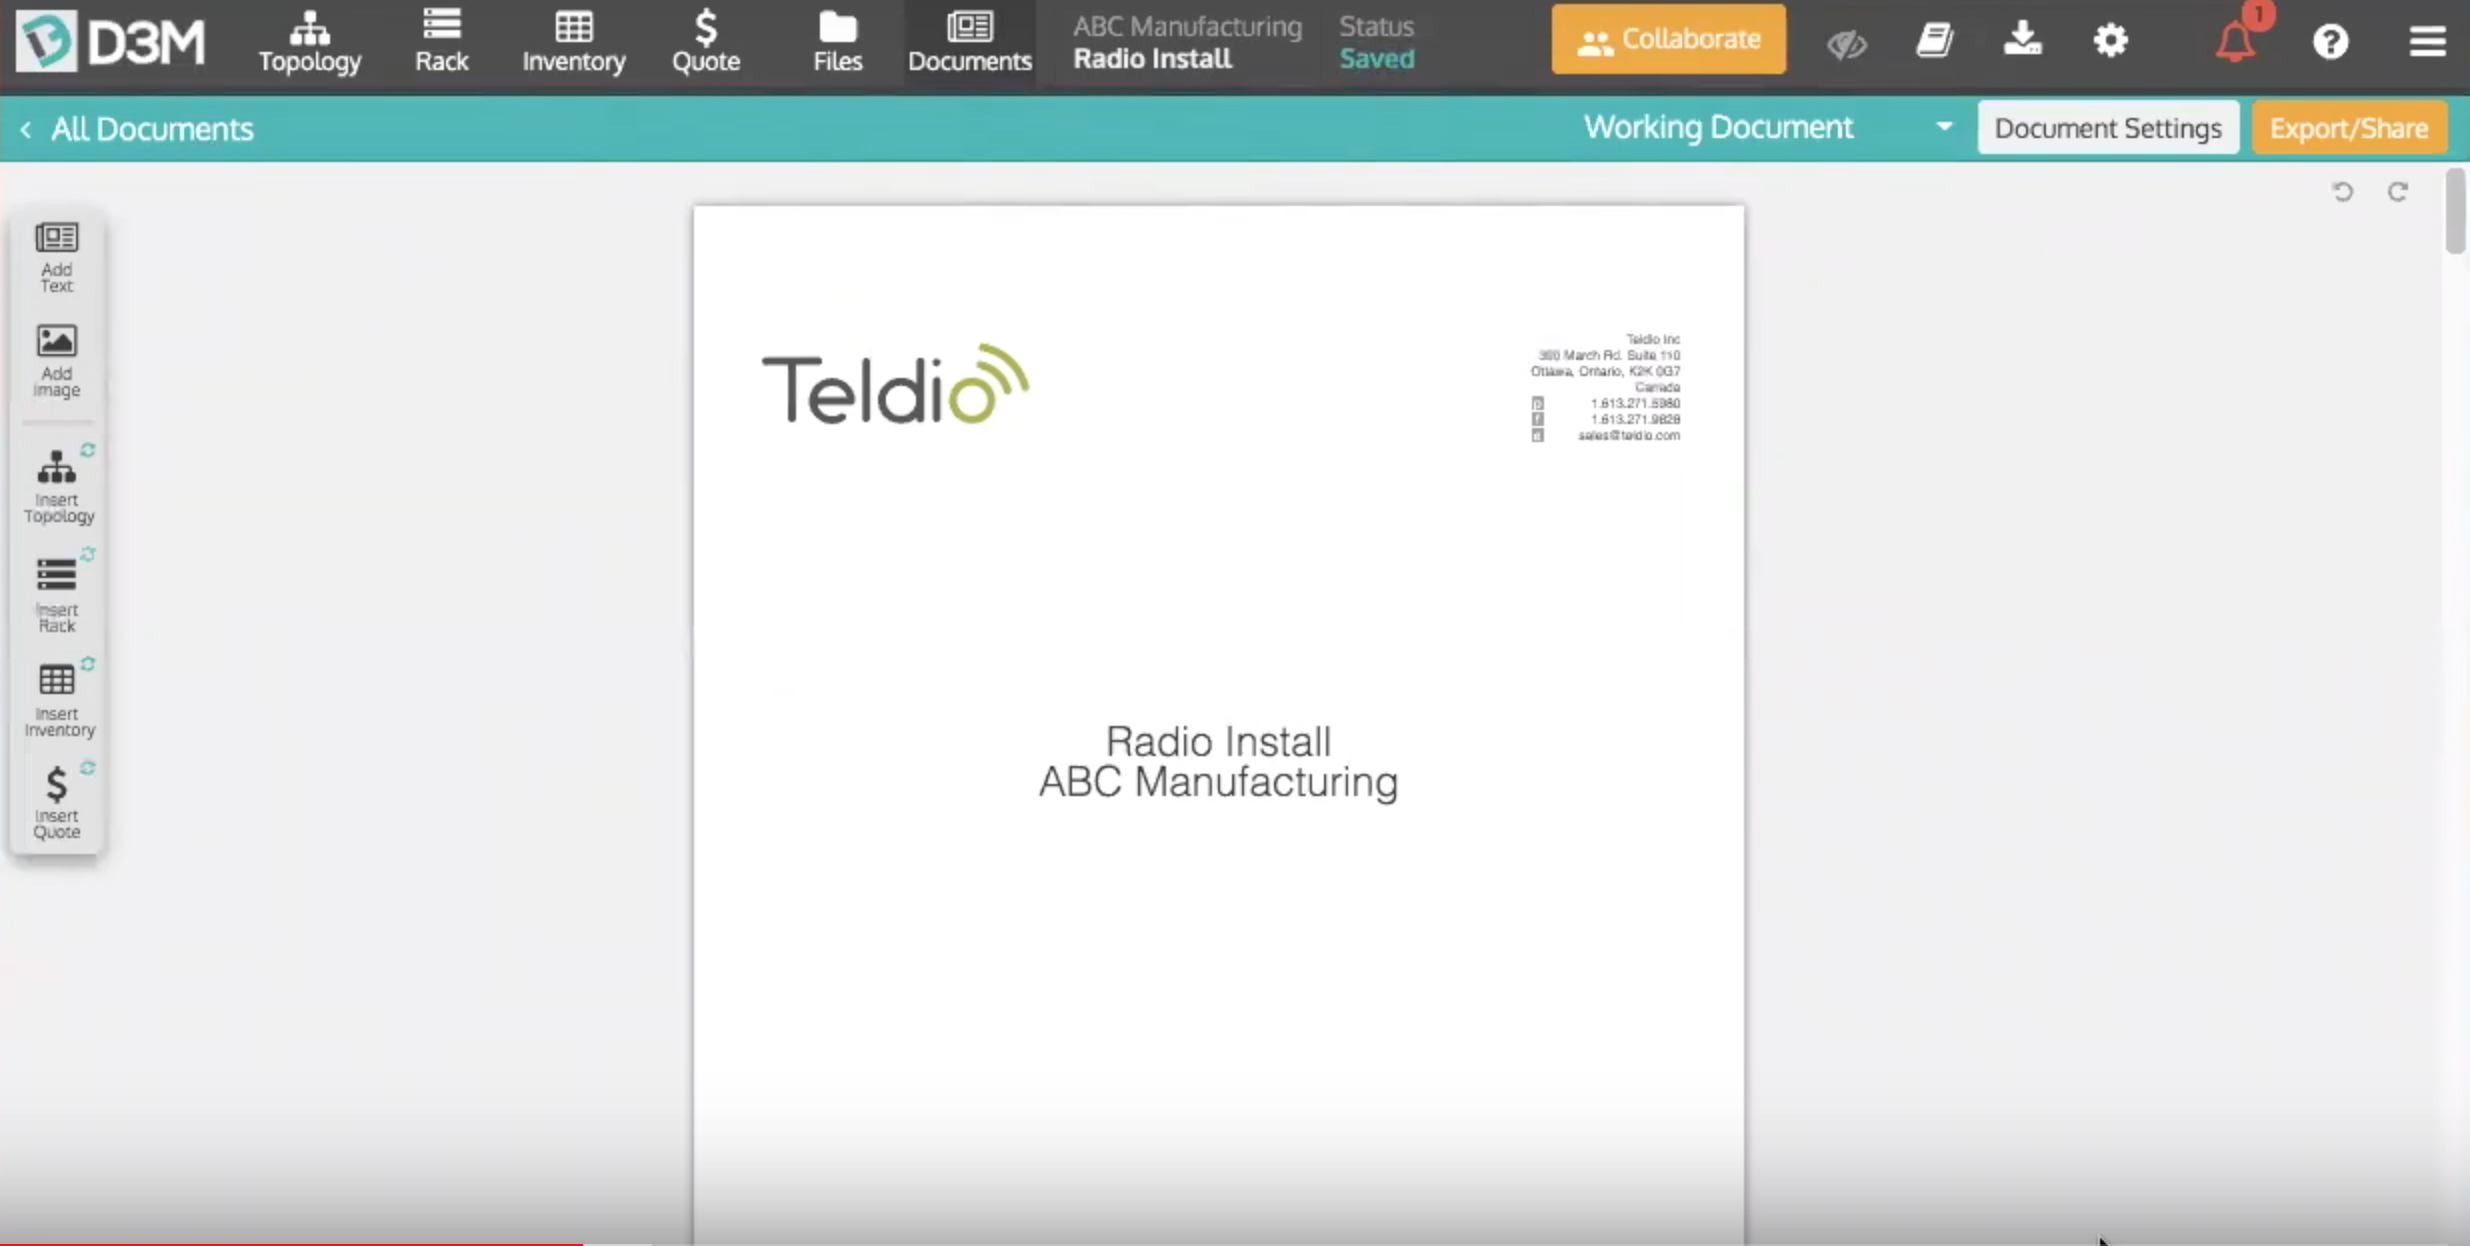
To share the rack diagram with your customer you will need to begin by creating a D3M Document. To create a document click the Documents tab, select Create a New Document, select the template you wish to use or begin with a blank document. Depending on the document you chose, you will need to add in the rack diagram. To add the rack diagram into your document select Insert Rack from the left side of your screen and drag and drop it onto your document. The rack will appear as it is seen in the Rack tab.
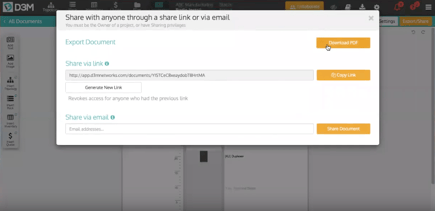
To begin sharing the document with a customer you need to click the Export/Share button in the top right corner.
Export as PDF: To export the document as a PDF click Download PDF. The document will be saved to your computer downloads.
Share via link: To share the document using the share link, copy the link and send it to your customer. This link will provide them with a live, up-to-date view of the document. Customers will only be able to see the document and no other areas of your D3M project. To stop the live, up-to-date view click Generate New Link.
Share via email: To share the document with your customers via email, enter their email in the Email Address field and select Share Document. This will send your customer an email letting them know you have shared the document with them. Customers will only be able to see the document and no other areas of your D3M project.
Watch the Recording
We had a great turnout and want to thank everyone who attended! For those of you who couldn't make it, below is a recording of the webinar. To see our icon libraries for yourself, start for free or log back in!
Check out the webinar recording below.

Hope to see you at our next webinar!
The D3M Team